Editor
Create automation pipelines with AI helpers. Drag nodes and connect them. Follow suggestions or customise with your own parameters.
Overview
The Flow Editor is a visual, no-code/low-code tool for building powerful data pipelines and automation workflows. With pre-built blocks and AI assistance, you can create complex data processing and AI workflows without writing code.
Getting Started
1. Create a New Flow
Go to the main page and start typing in the chat. If you don't know where to start, just greet your assistant with a "Hi" or ask a question. The chat will guide you through the process.
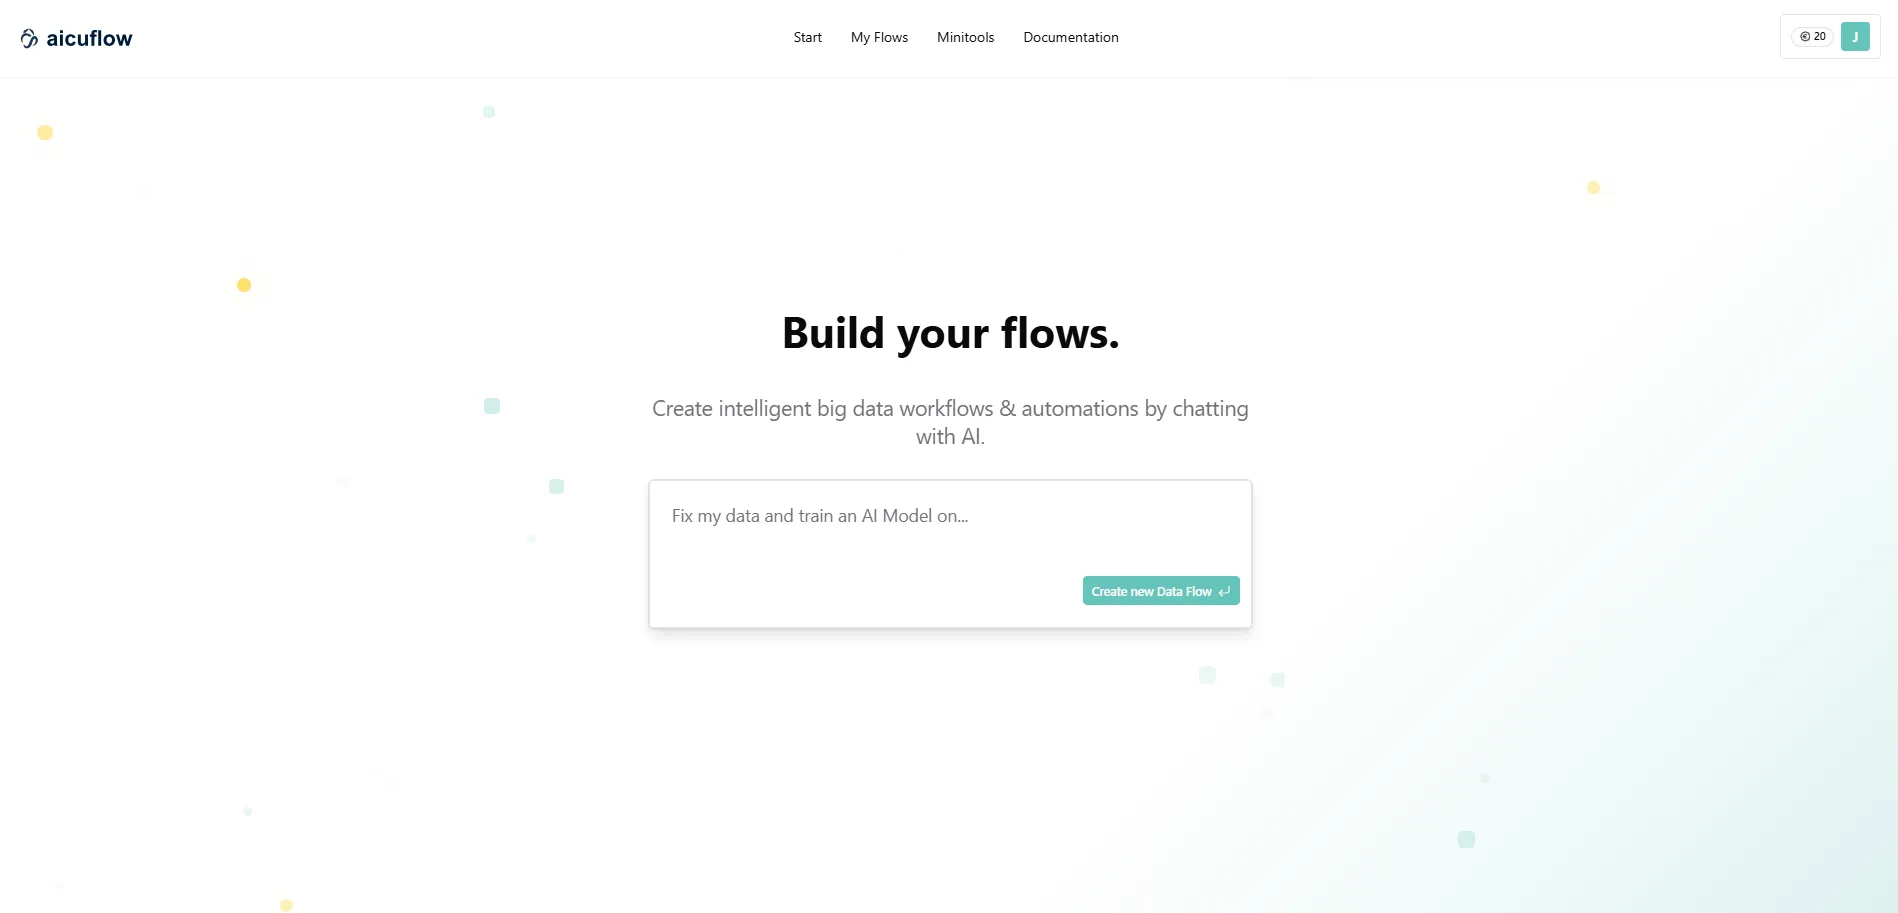

You will automatically receive a default name for your flow so you can distinguish easily between multiple flows. If you wish to change the name simply click on the flow title in the upper navigation bar and start typing.
2. Add Data to Your Flow
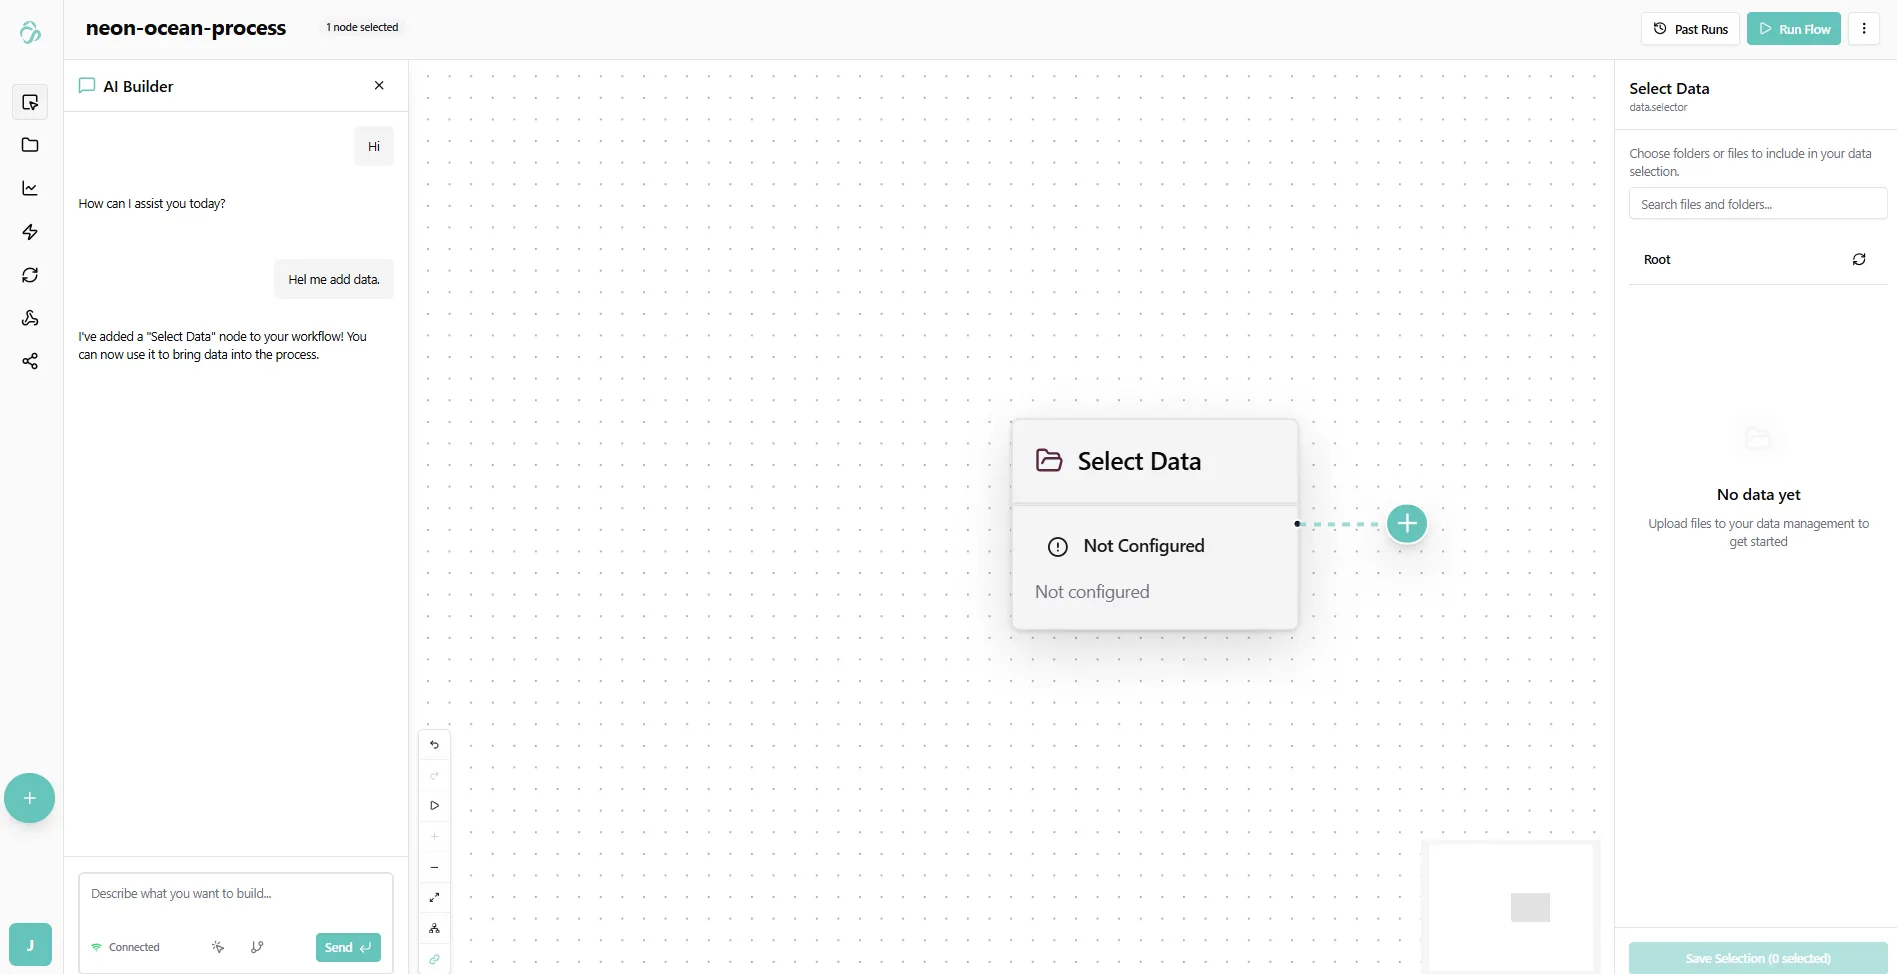
In our case we asked the chat (with a typo) if our ai builder can help us add data. The chat suggested to first add a select data node.
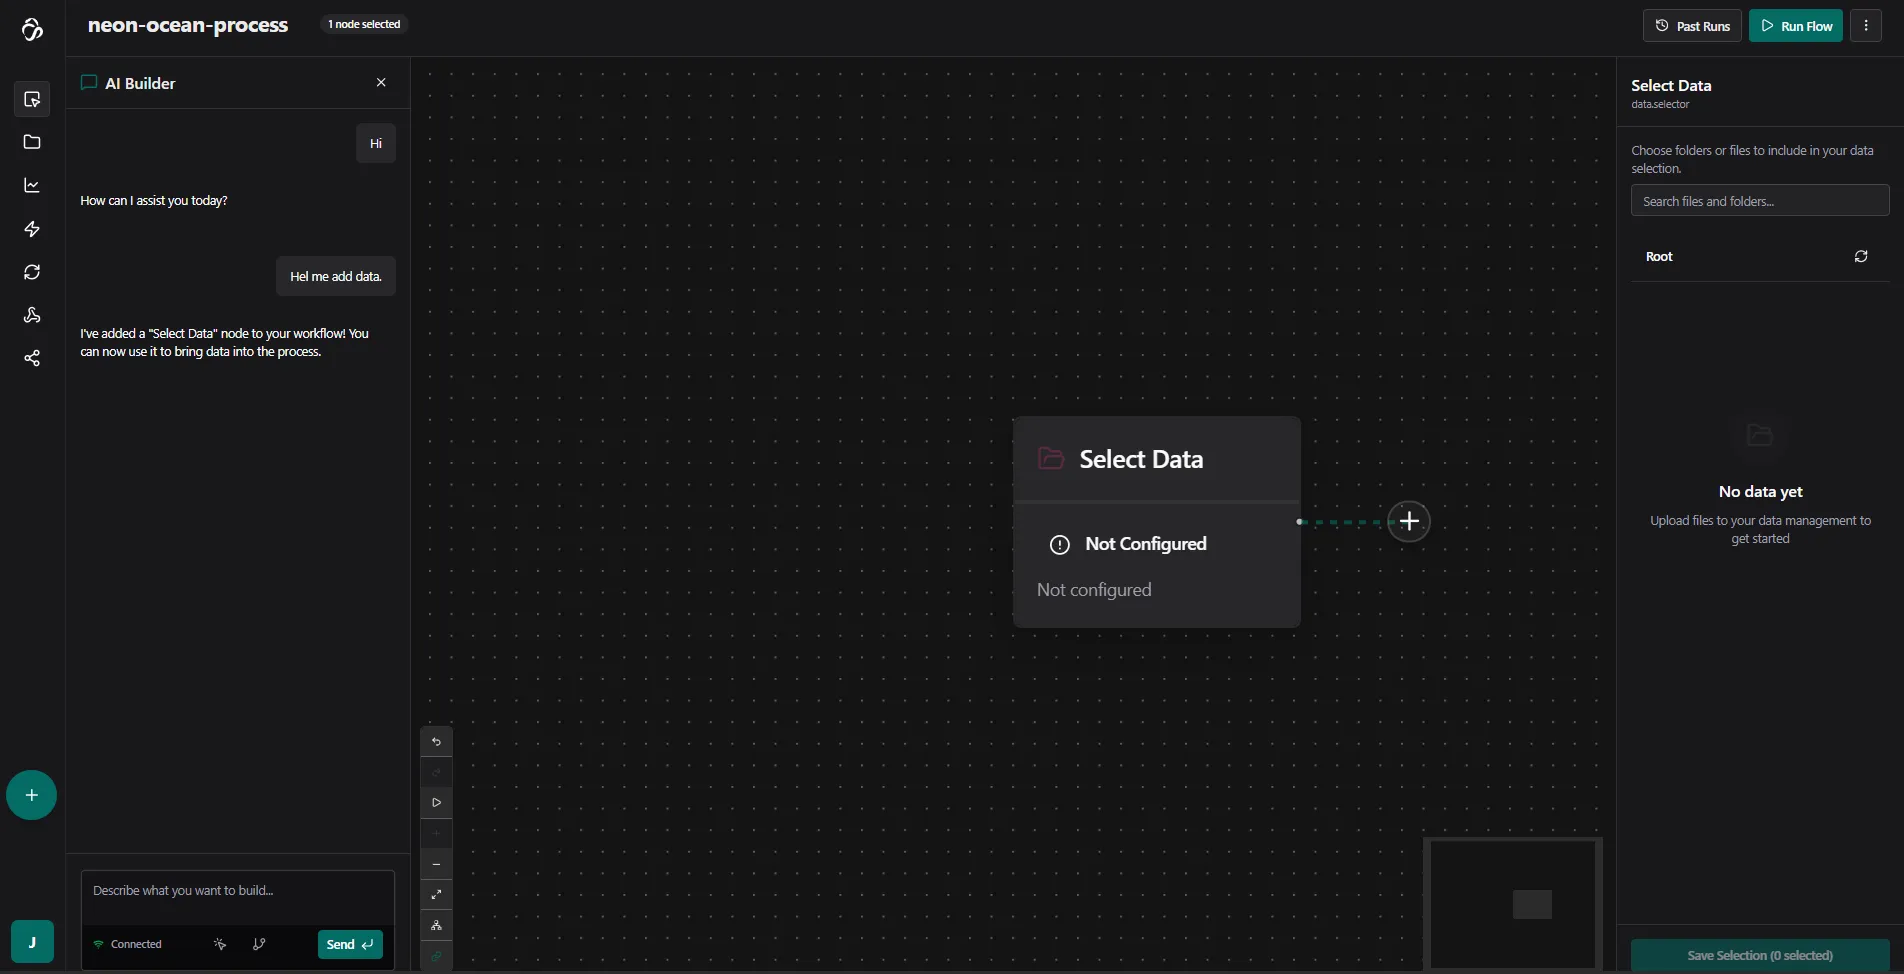
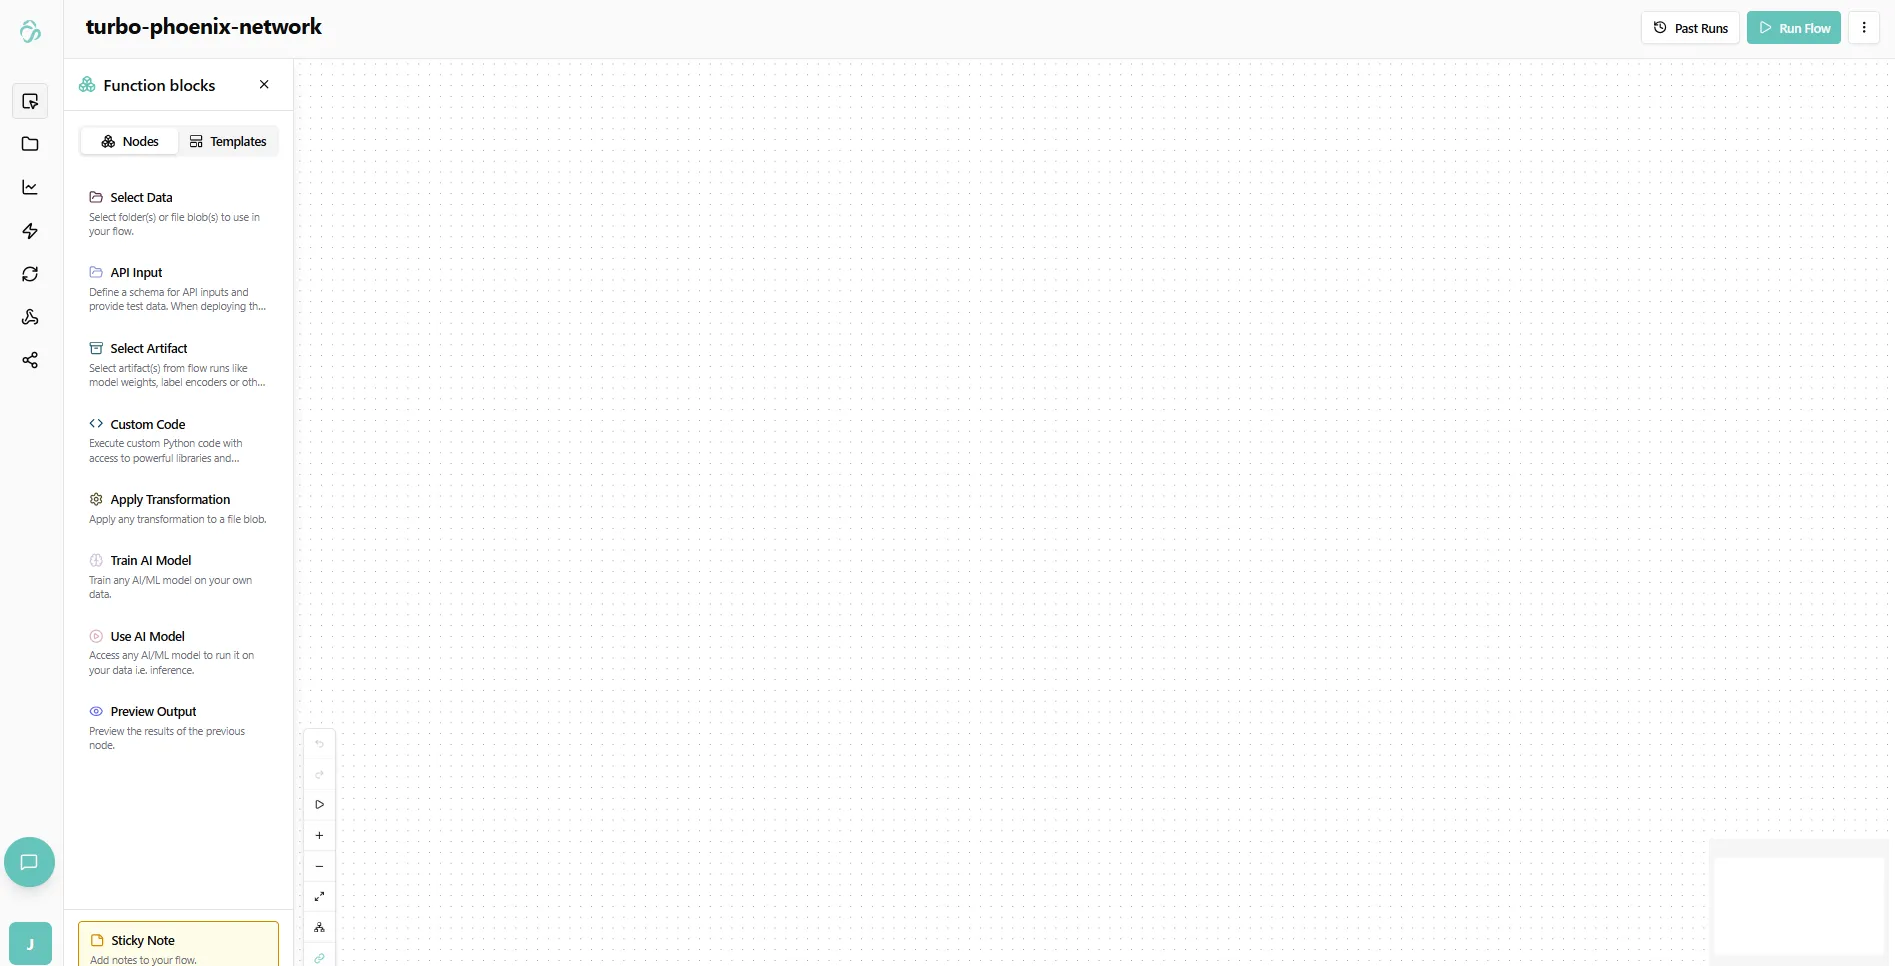
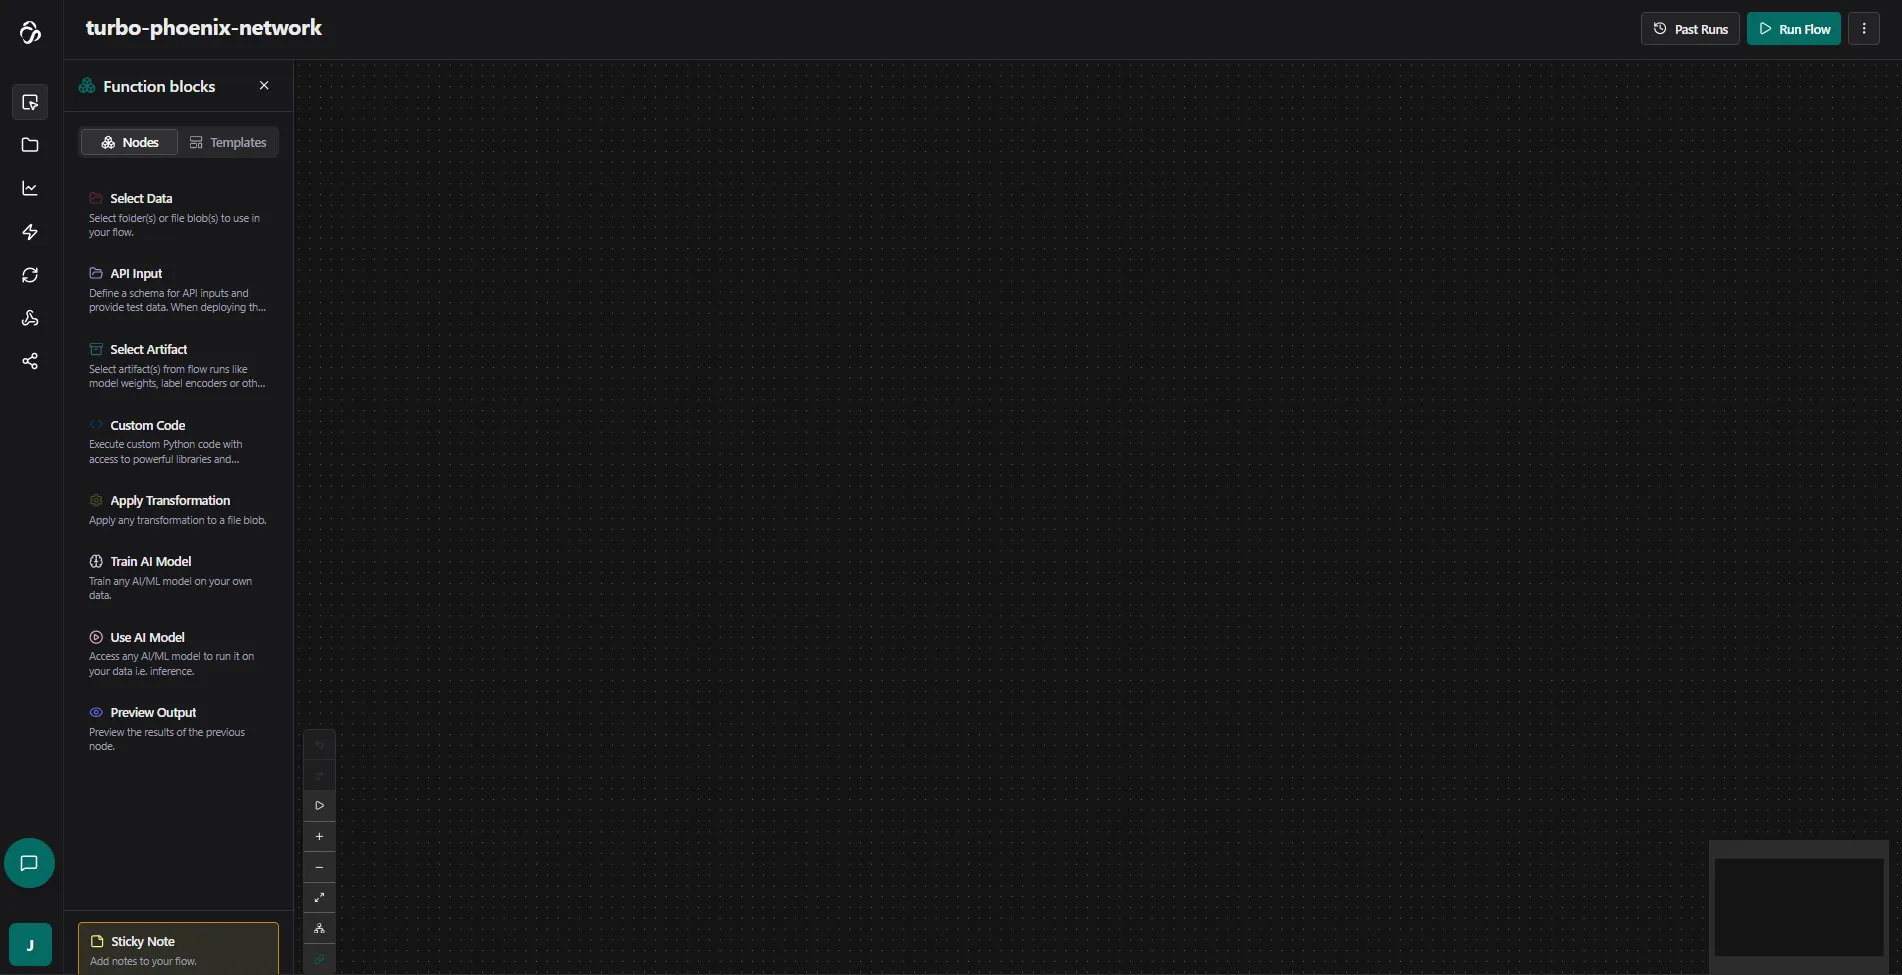
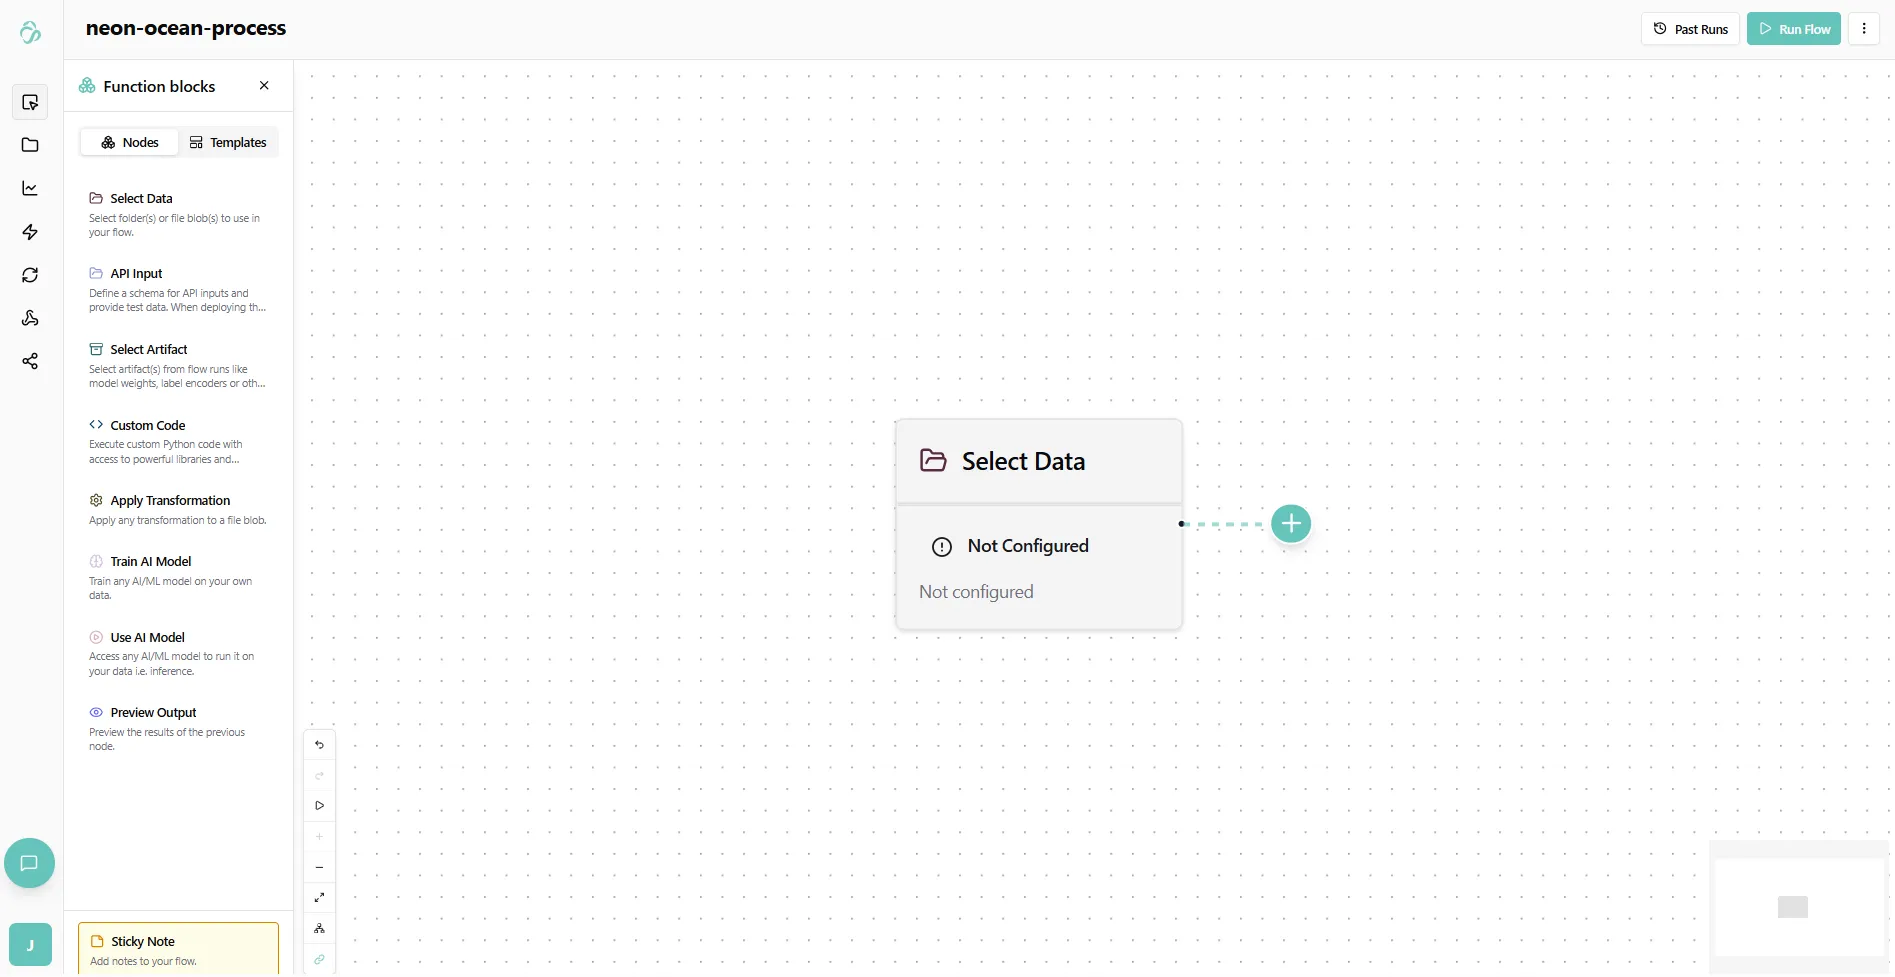
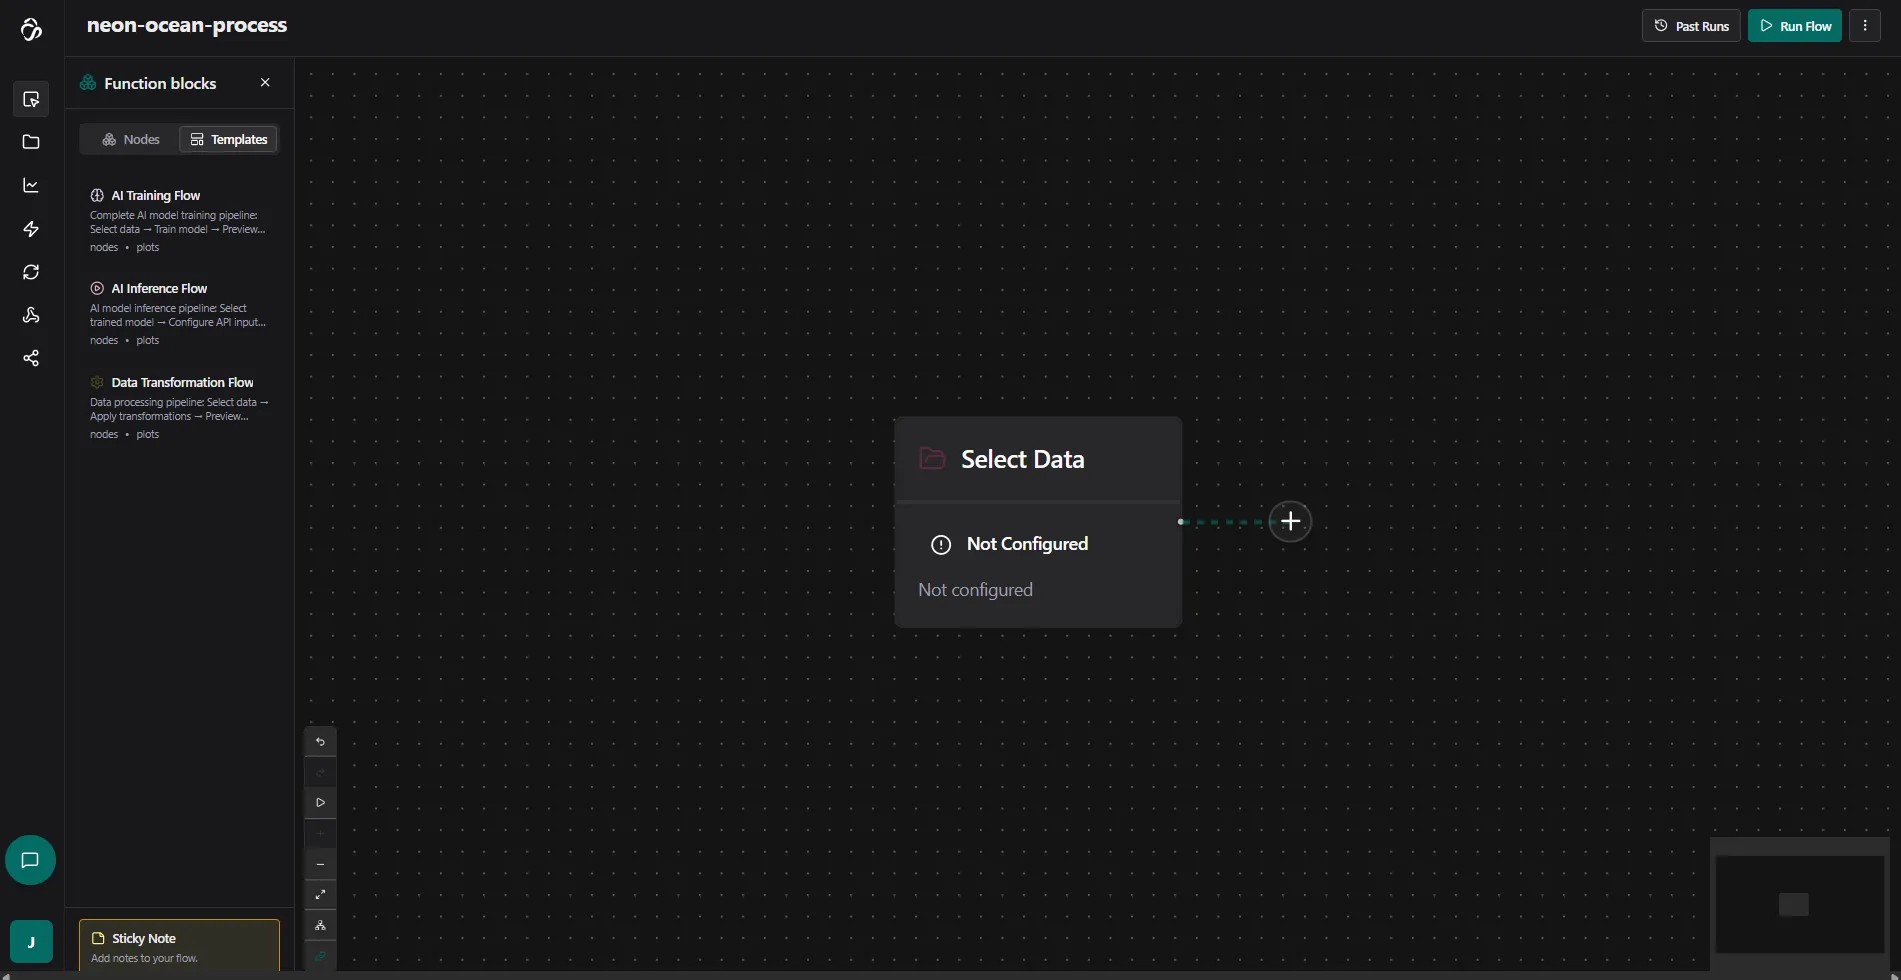
To do this manually you can open the Node Library by clicking on the Plus Icon in the Sidebar and click on the Select Data node. You can also drag the Select Data Node on the canvas. In this node (or function block) we will select what data that we use in our flow. You can add multiple select data nodes and bring the different paths together later or create other structures that you need for your project. All functions that connect to the Select Data Node will use its data.
When you click on a Node the property panel of that node appears. Depending on the node type you see different selection options. Now you can see that it says that we do not have data to select yet. Let`s change that by navigating to the Data tab below the editor tab and click Add Data. For detailed instructions on adding data, see the Data Module documentation.
3. Choose Your Workflow
Decide whether you want to train a model or run inference:
- Train a model: Follow the Training guide
- Run inference: Follow the Inference guide
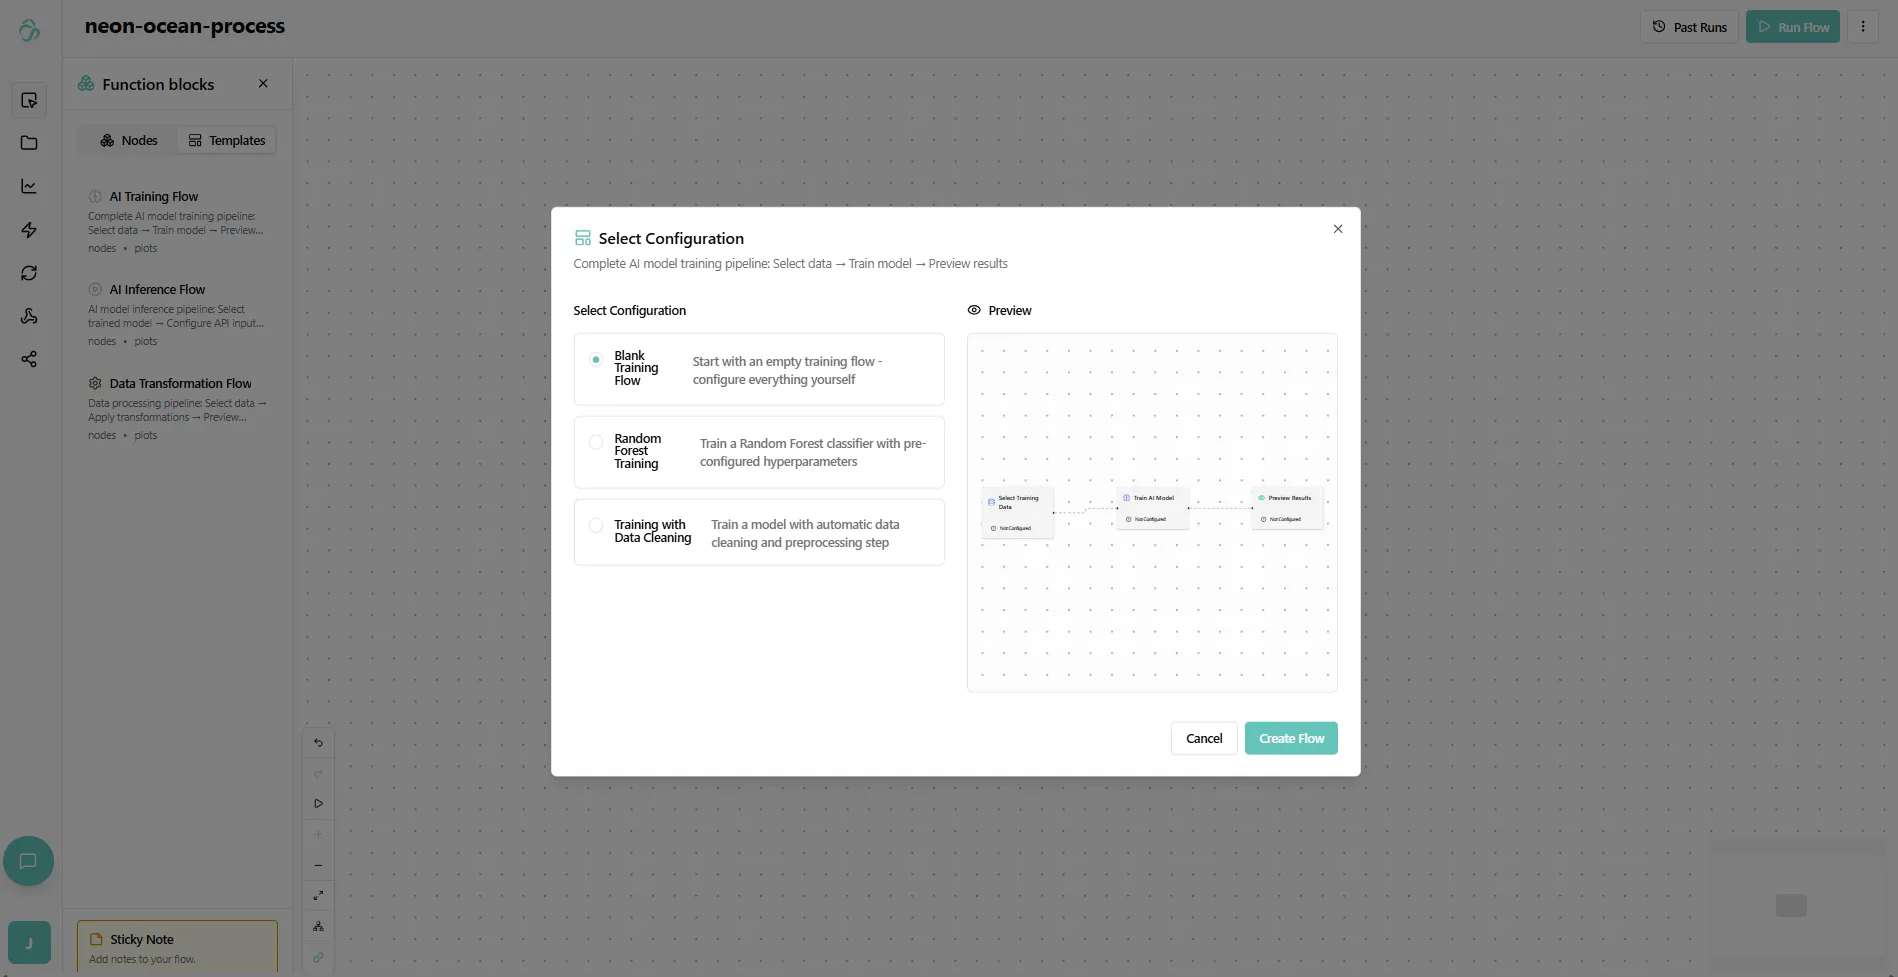
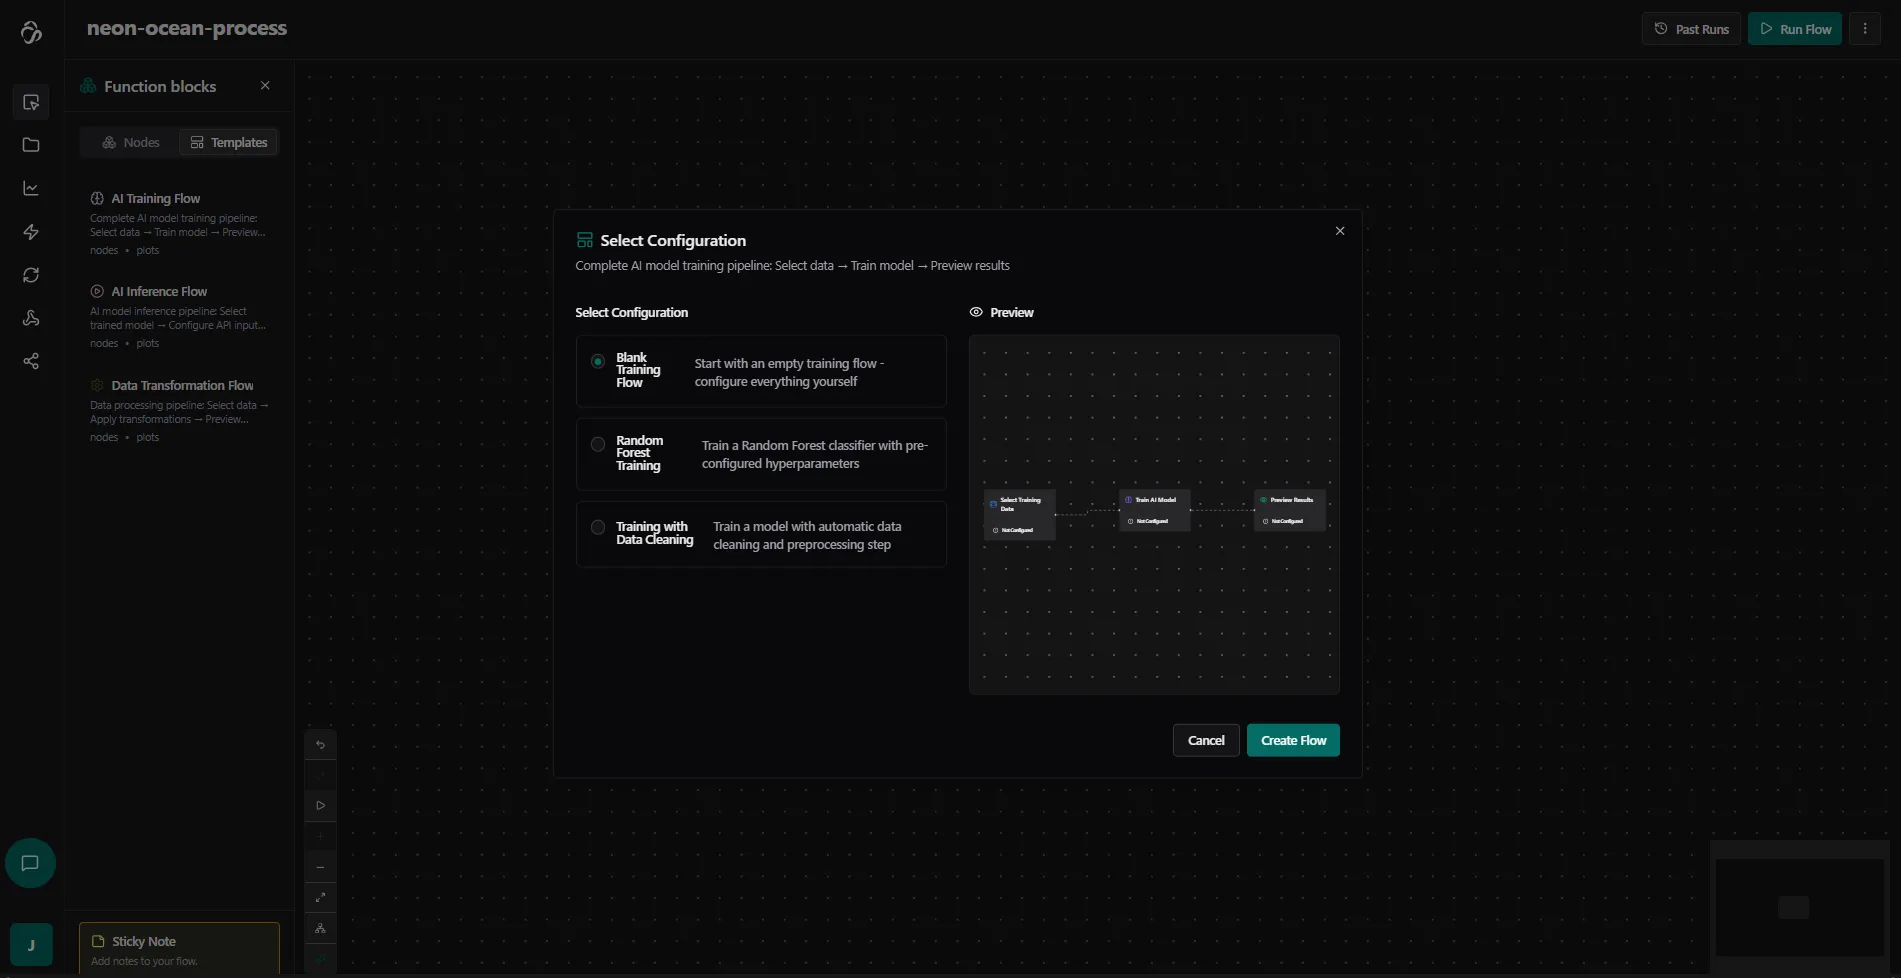
You can also select templates. To find templates you click on the Plus Icon that opens our function blocks. Here you select the templates tab that is next to the nodes tab.
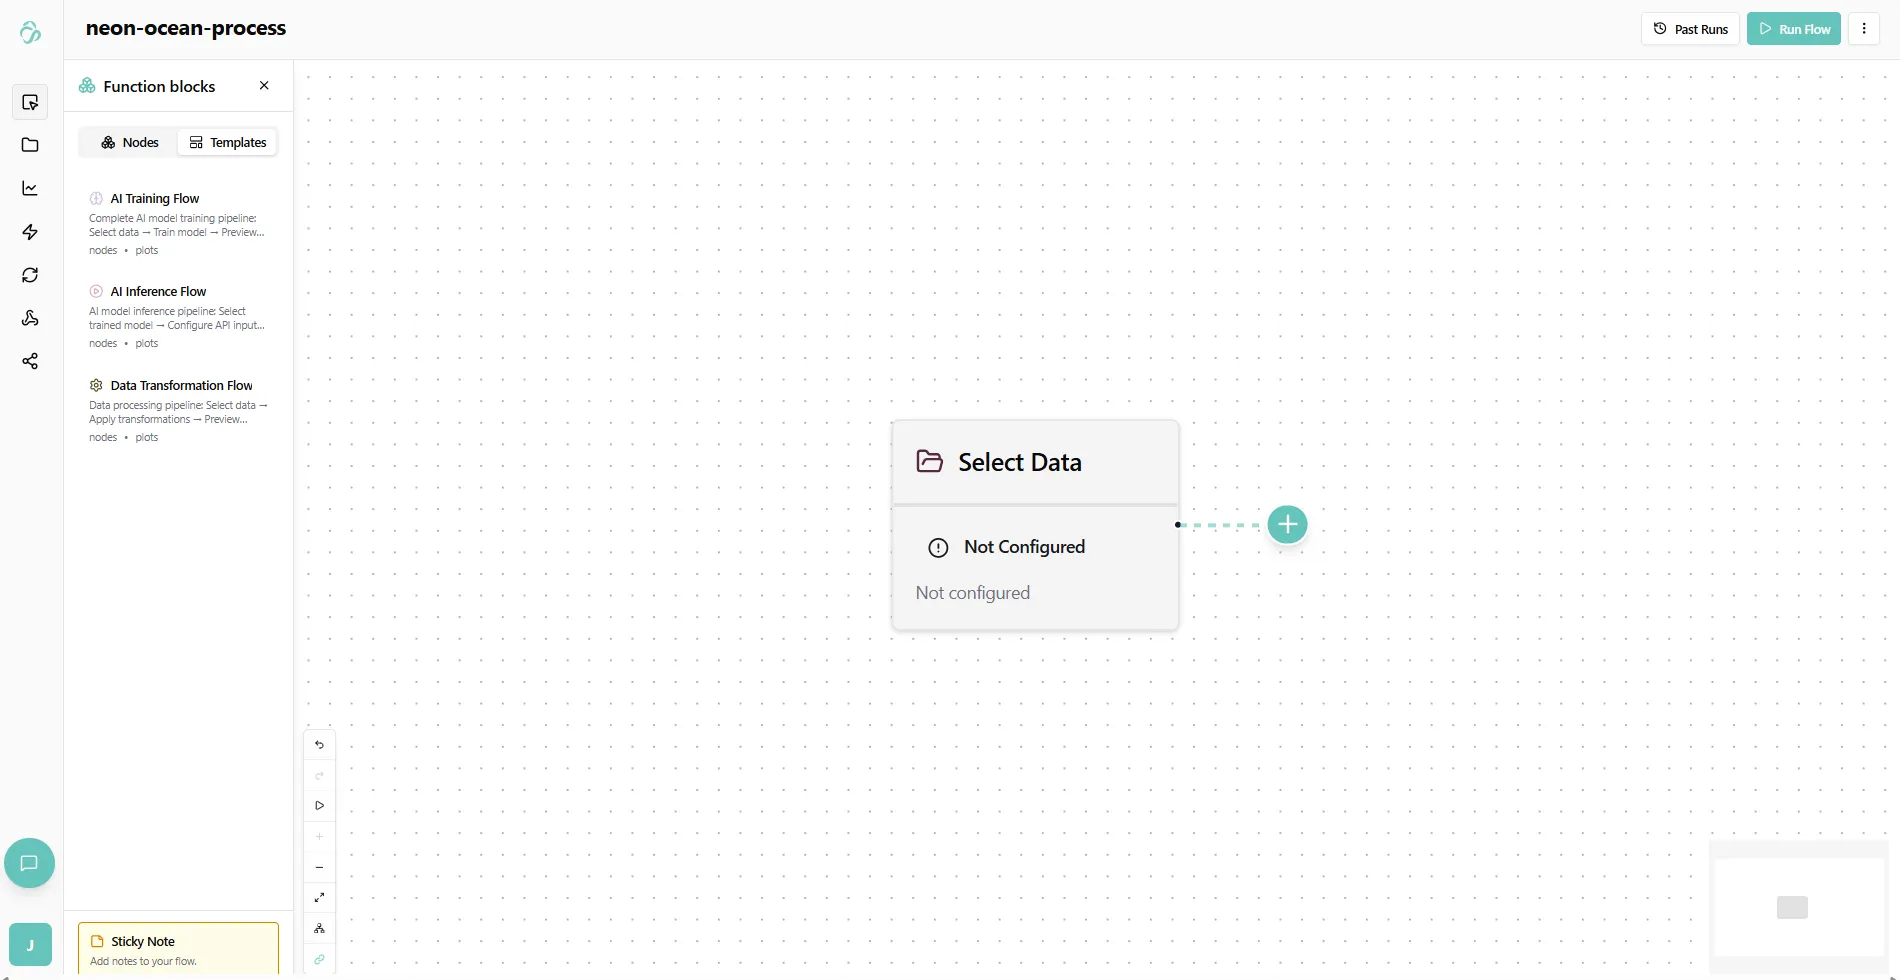
We now decide for a training template. When you click on it a popup appears that shows you the different settings that a template can have. We usually have a blank template that gives you only the most basic nodes. Some templates offer ready made settings for different models that we recommend or will allow you some extra steps or even provide example datasets you can use to experiment with or exchange with your own. Make sure to read the instructions carefully. Depending on your subscriptions you have access to different templates.
4. Connect Your Nodes
To connect two nodes, drag from one node's dot to another node's green dot. A line will appear to show the connection.
Managing Connections:
- Click on a line once to make it solid
- Press DEL or click again to delete the connection
Keyboard Shortcuts:
- CTRL+A: Select all nodes
- DEL: Delete selected node or connection
- Shift + Click: Multi-select or deselect from multi-select
- Shift + Drag: Draw a box around nodes to multi-select
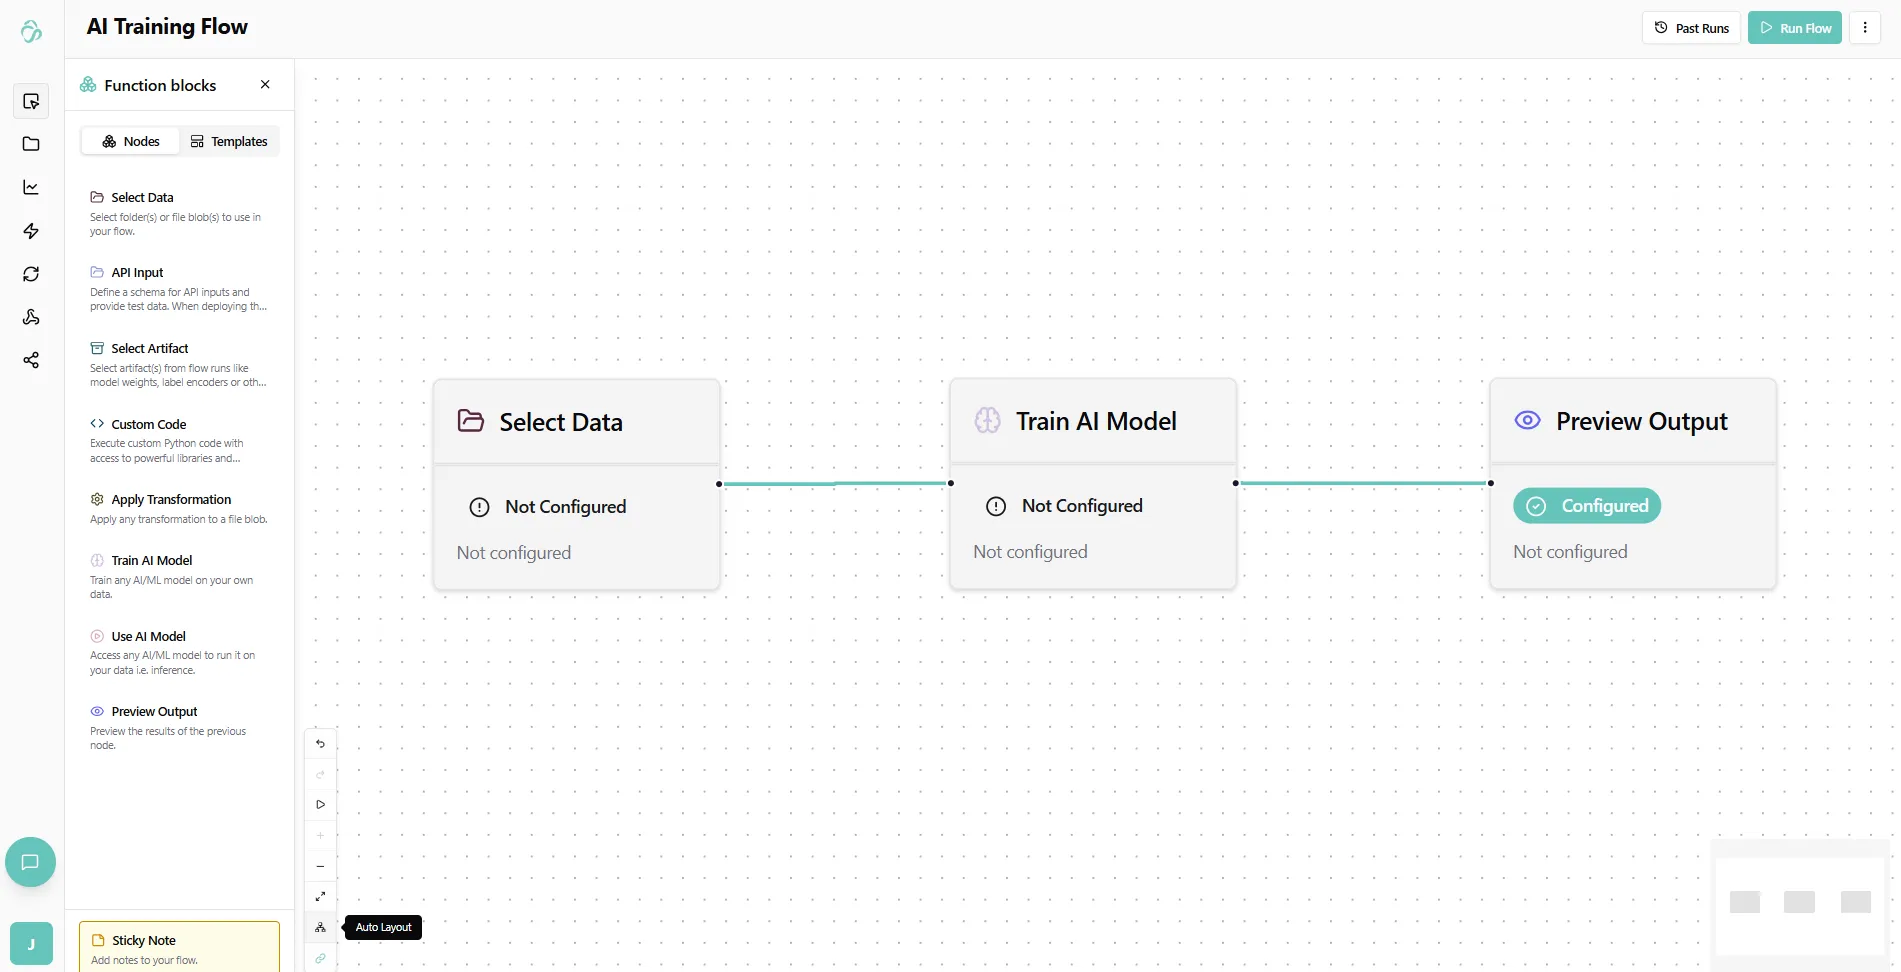
Sometimes a flow looks a bit messy when creating it over time. To clean up your view you can use the auto arrange setting to align the nodes pretty on the canvas. You can find this setting along with other useful settings in the lower left corner of the canvas.
Here you can also find e.g. the possibility to switch the auto connect nodes feature off that connects nodes automatically when they are close to each other.
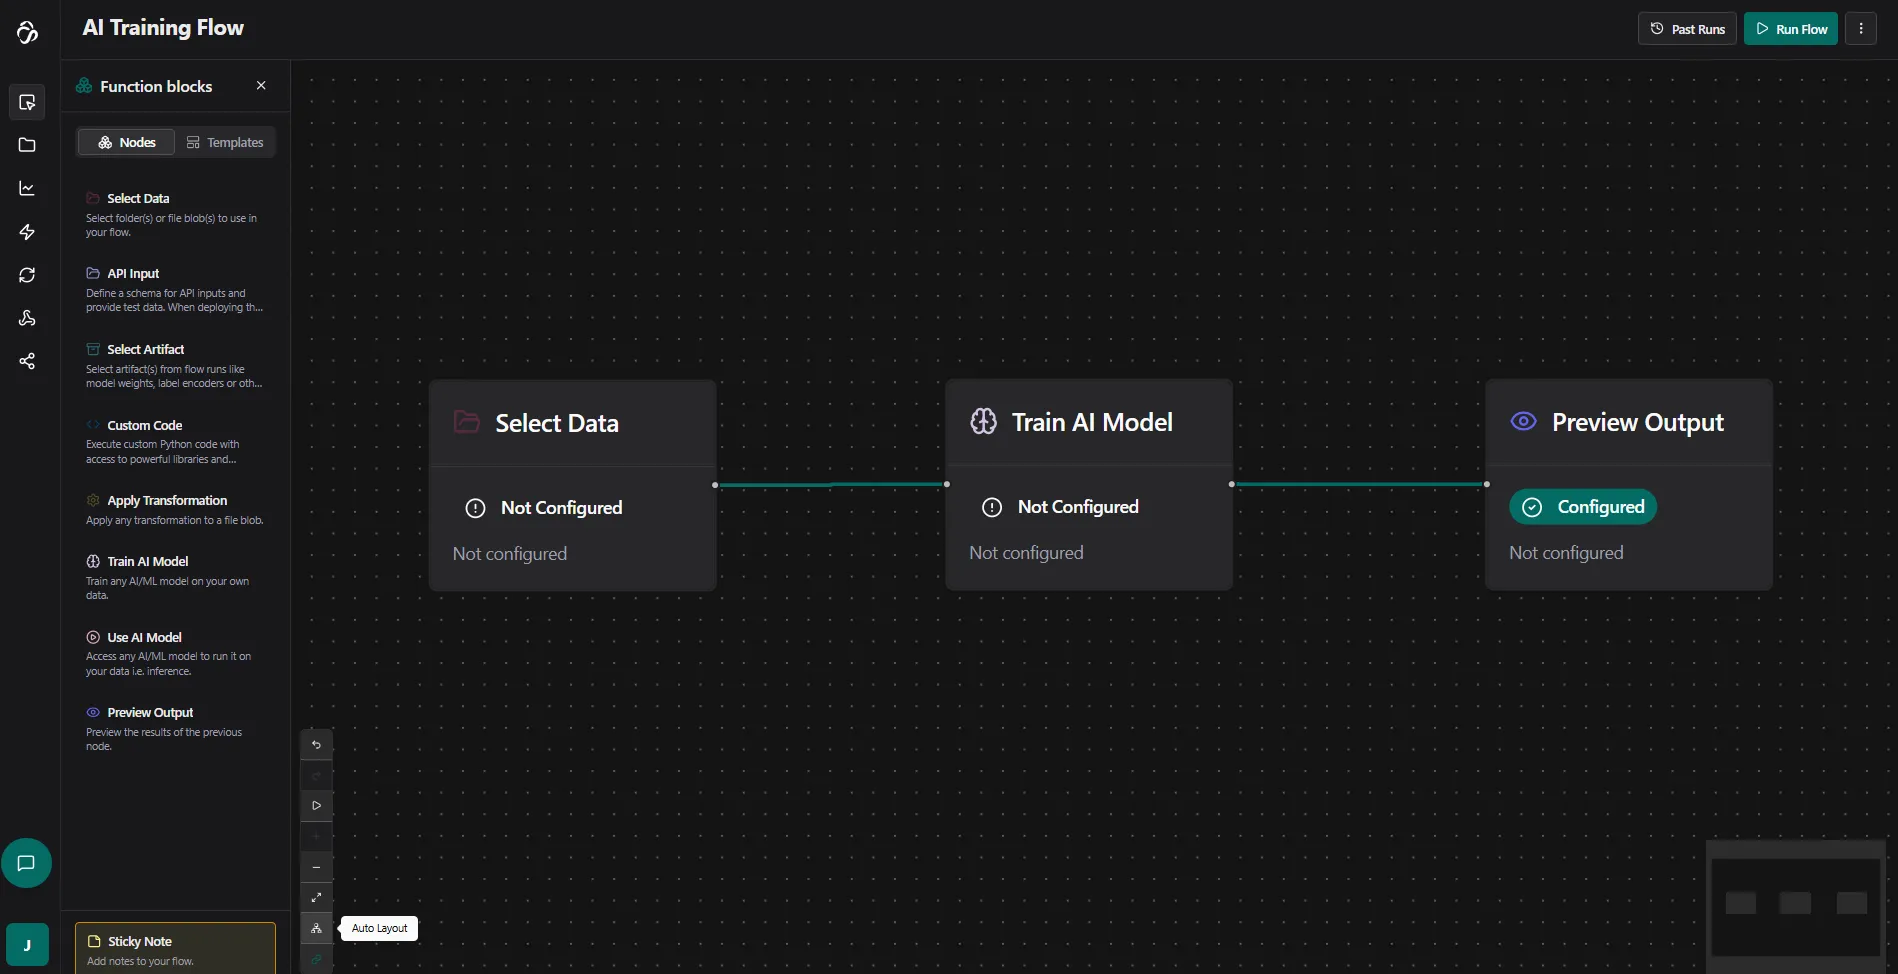
5. Configure Node Settings
Click on any node to select it. A properties panel will appear on the right side where you can adjust the node's settings. Most node settings have descriptions to guide you. In our technical documentation you can find settings explanation for each node type and their possibilities like different ai models or data processing methods. If you are unsure then we recommend to try out a template first or watch an intro video.
6. Run Your Flow
Click the RUN button (the green button at the bottom of the flow editor) to execute your workflow. Before you click the run button check that your nodes are configured.
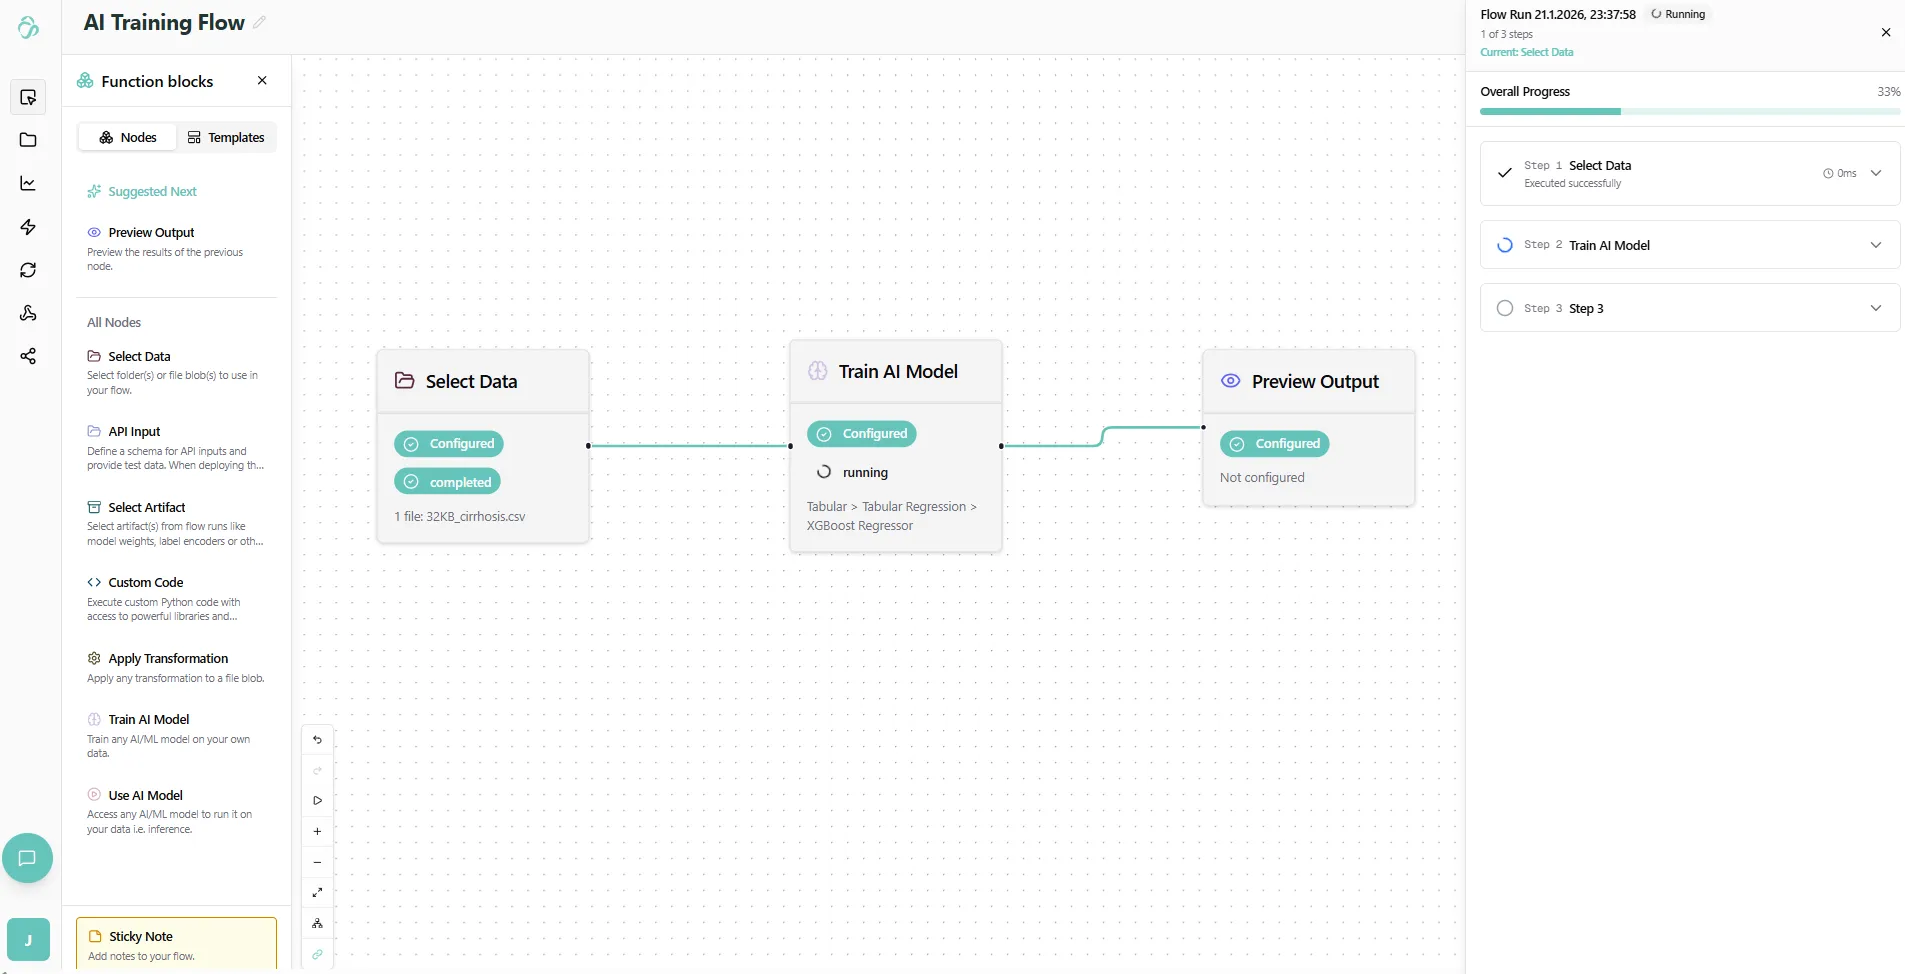
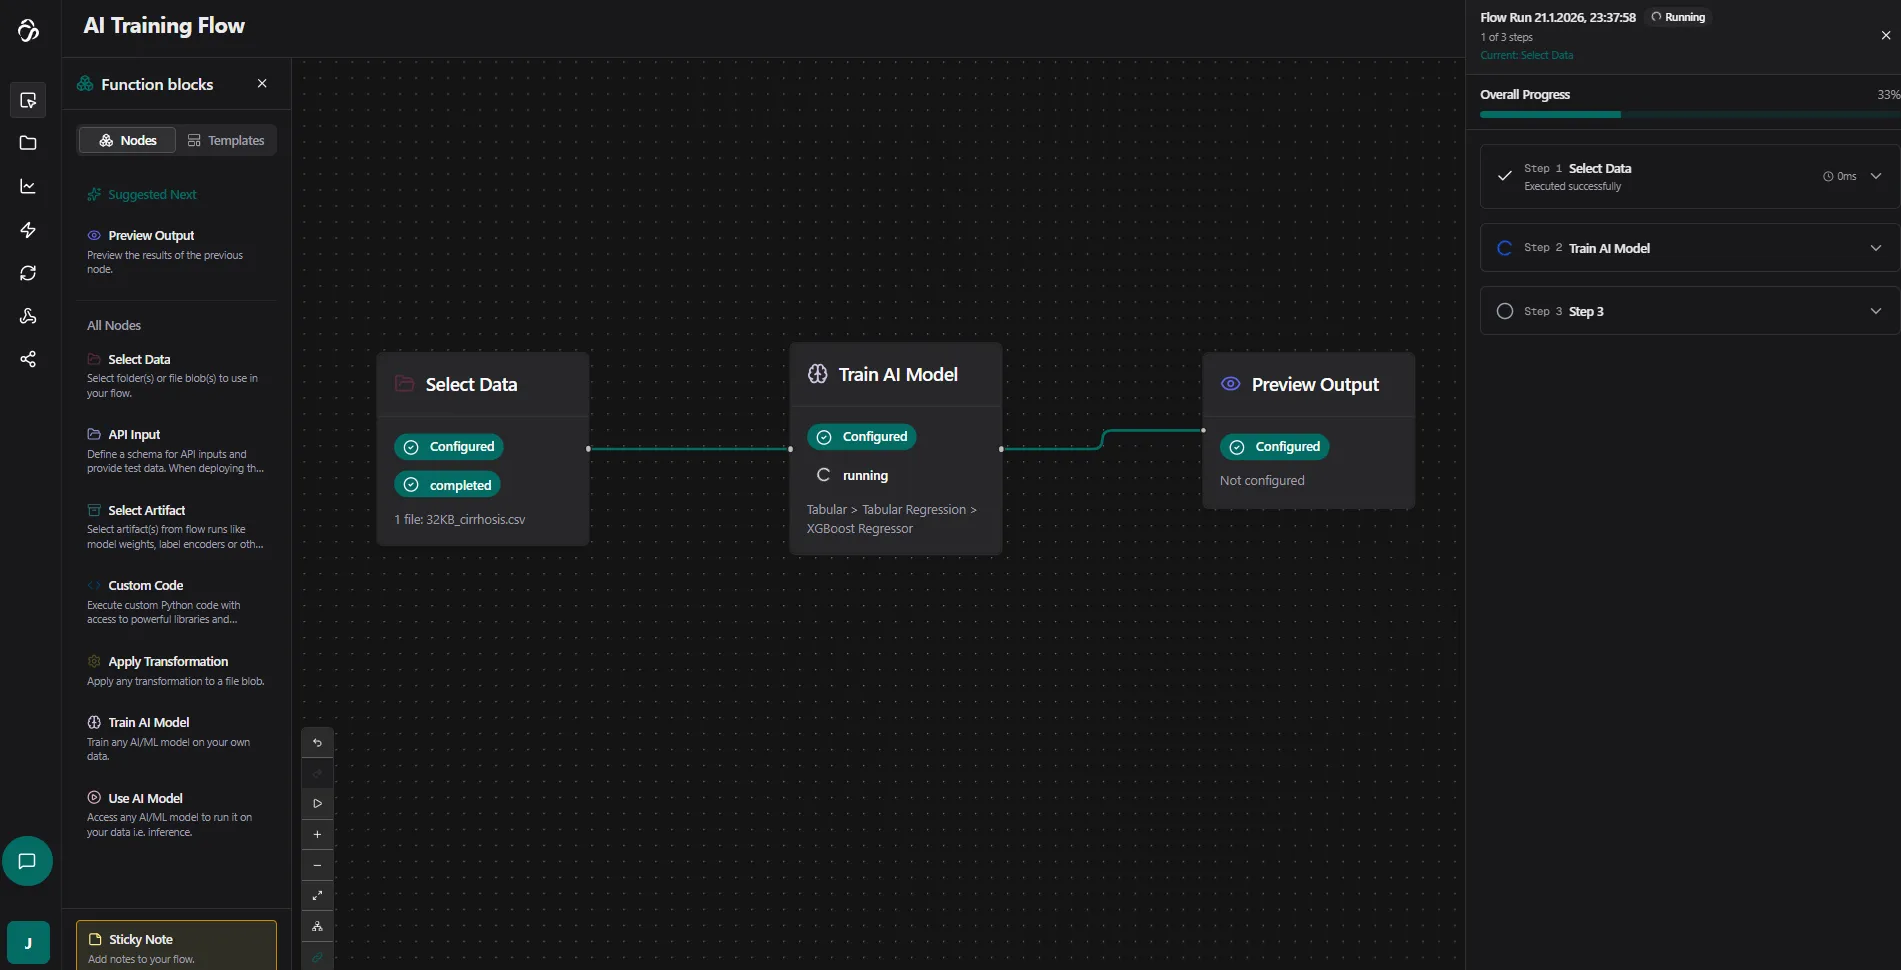
Important: While a flow is running, changing e.g. node locations or settings is disabled. Wait until execution completes before making changes.
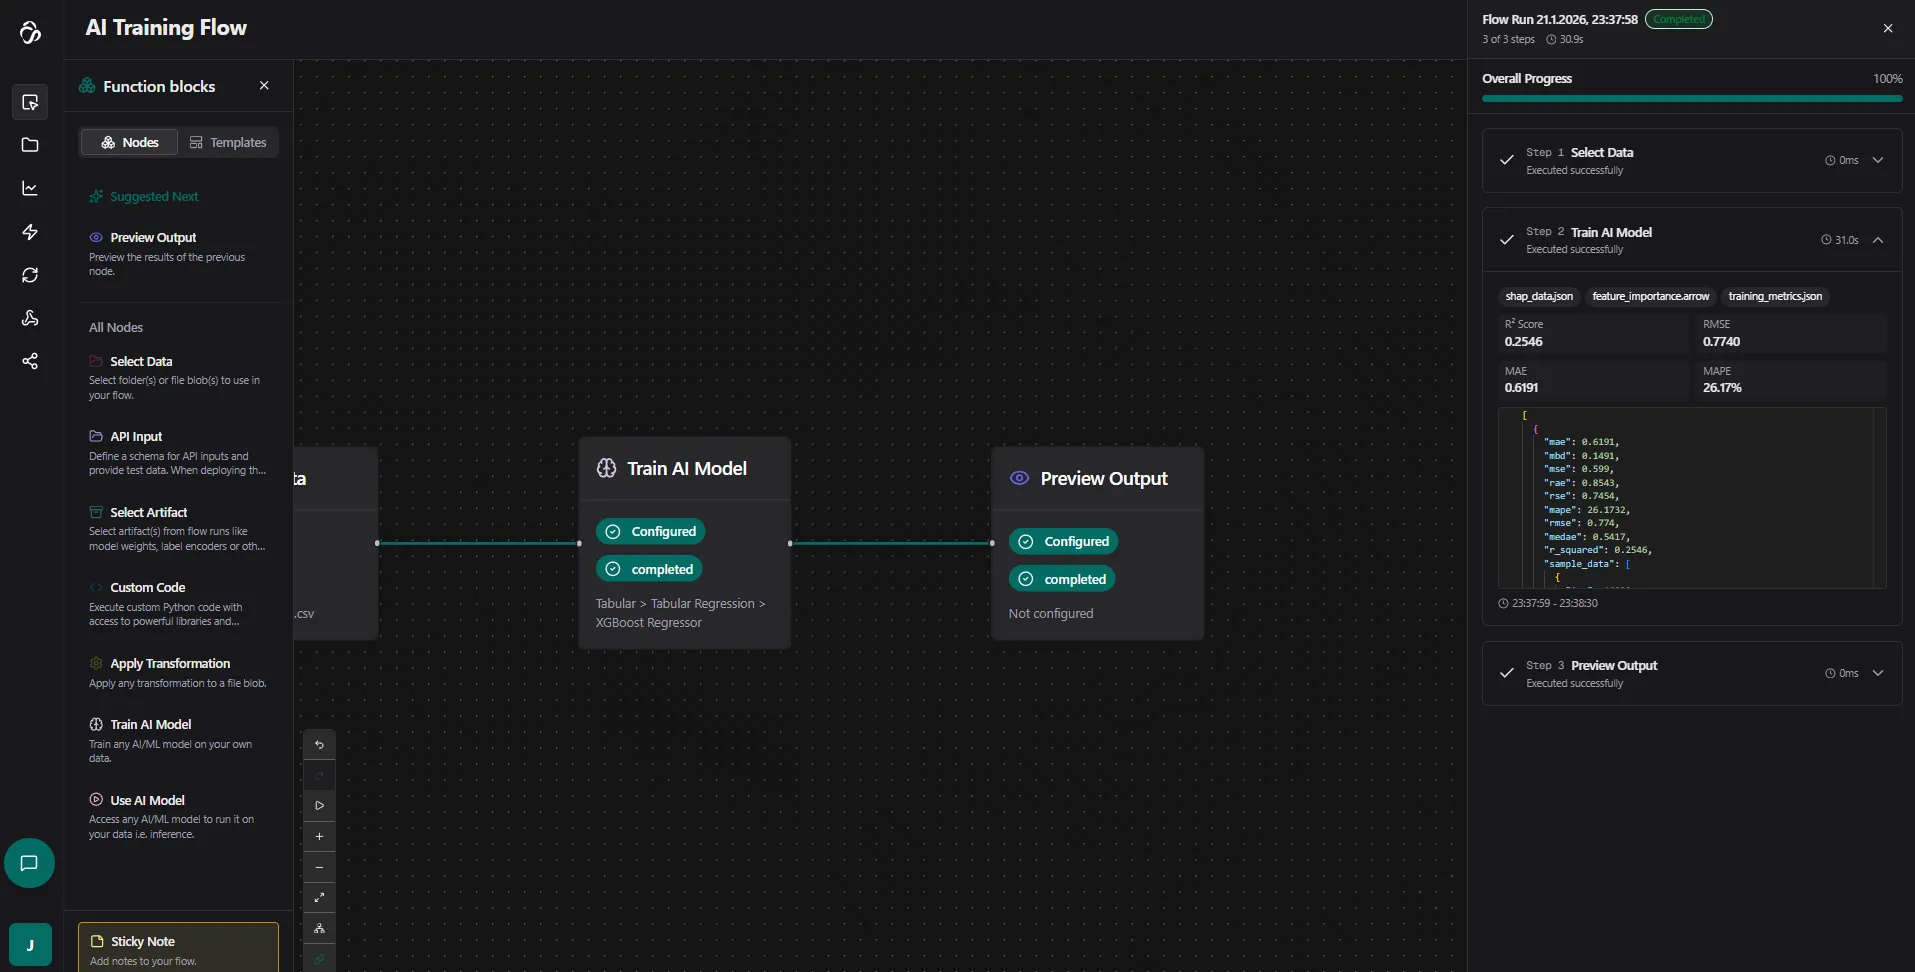
You will find logs after a node is run through. Especially a training node can take a long time. A rule of thumb is that the more data the longer and trainings take the longest.
In the results you will see node specific outputs in a json format. If you connect a preview output node then these will be converted to plots, images, json structures and files that you can download or view.
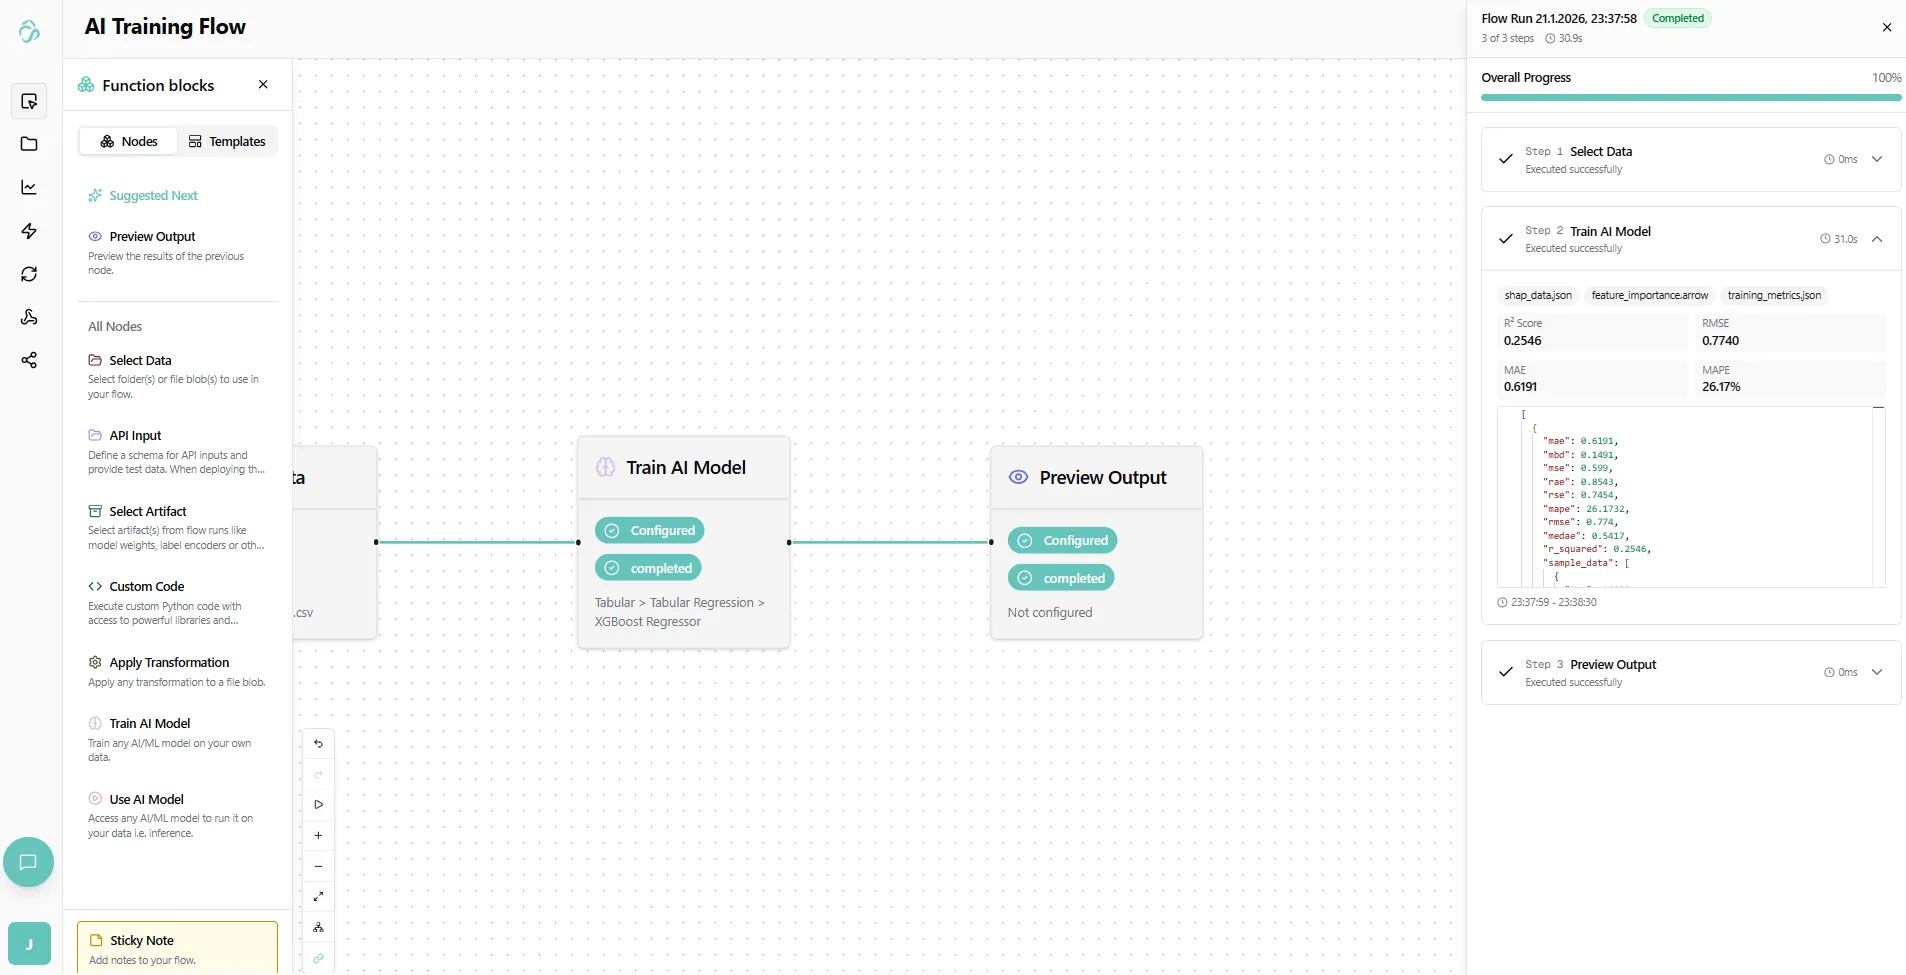
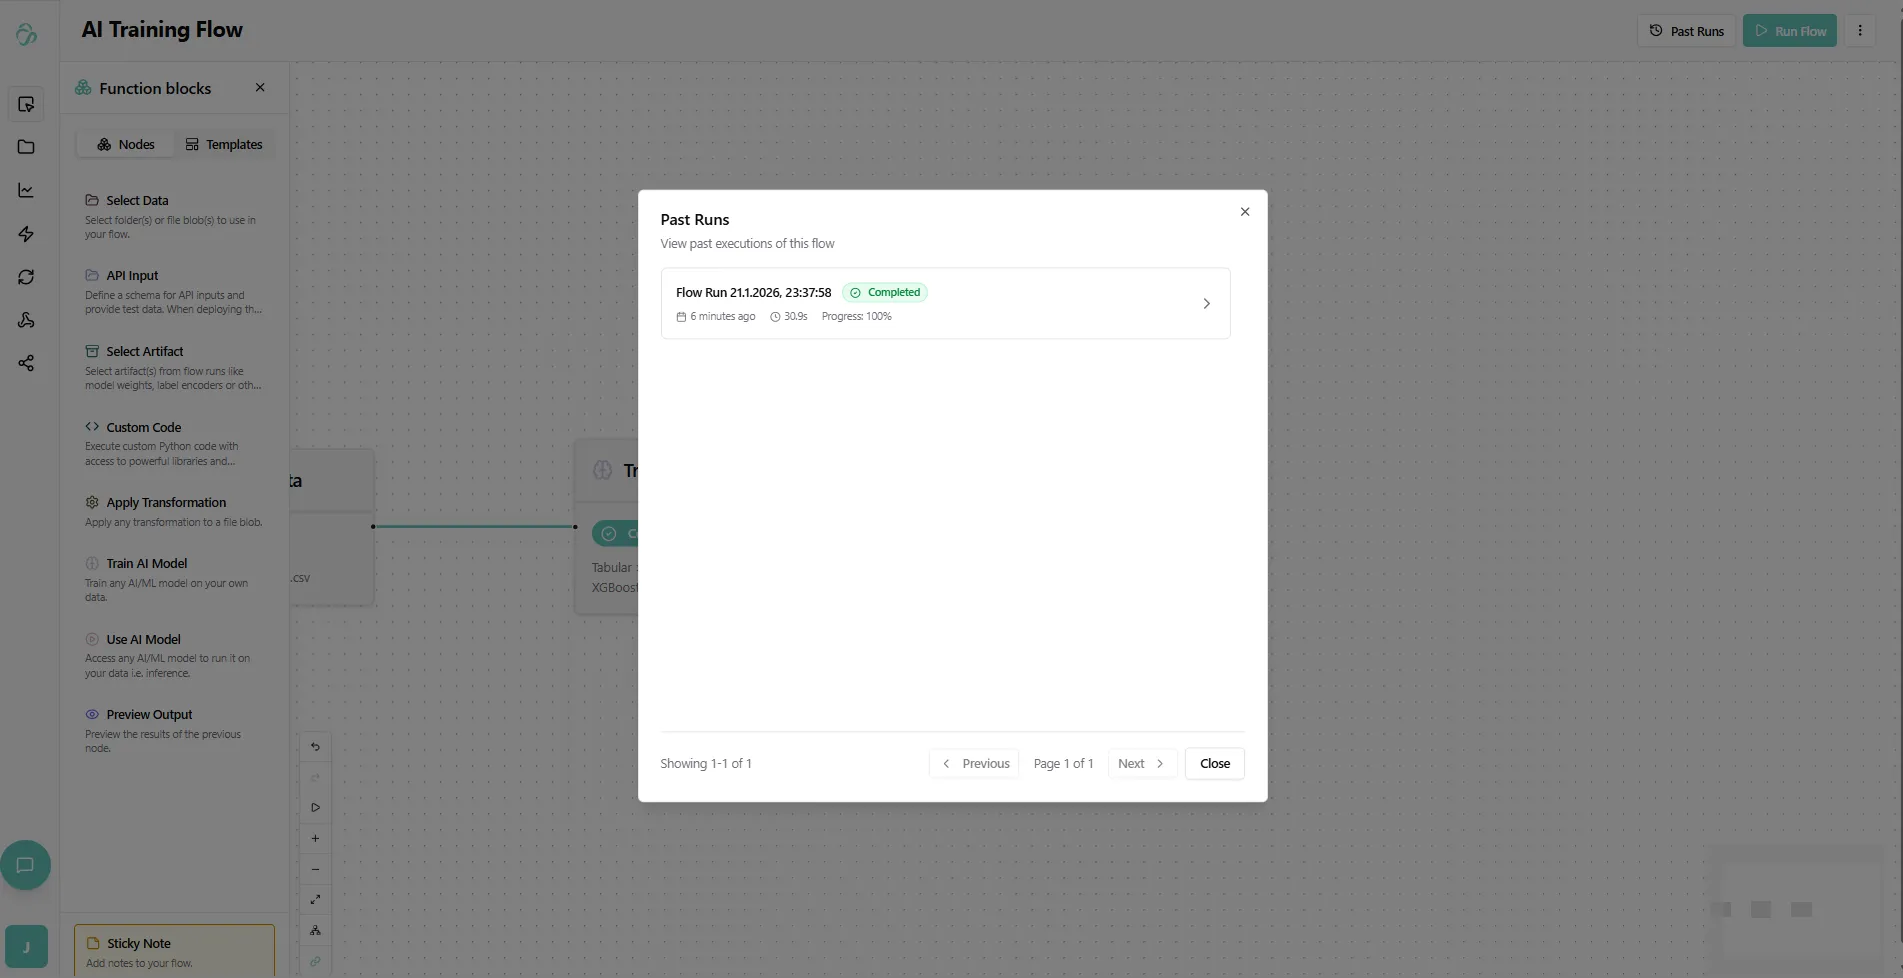
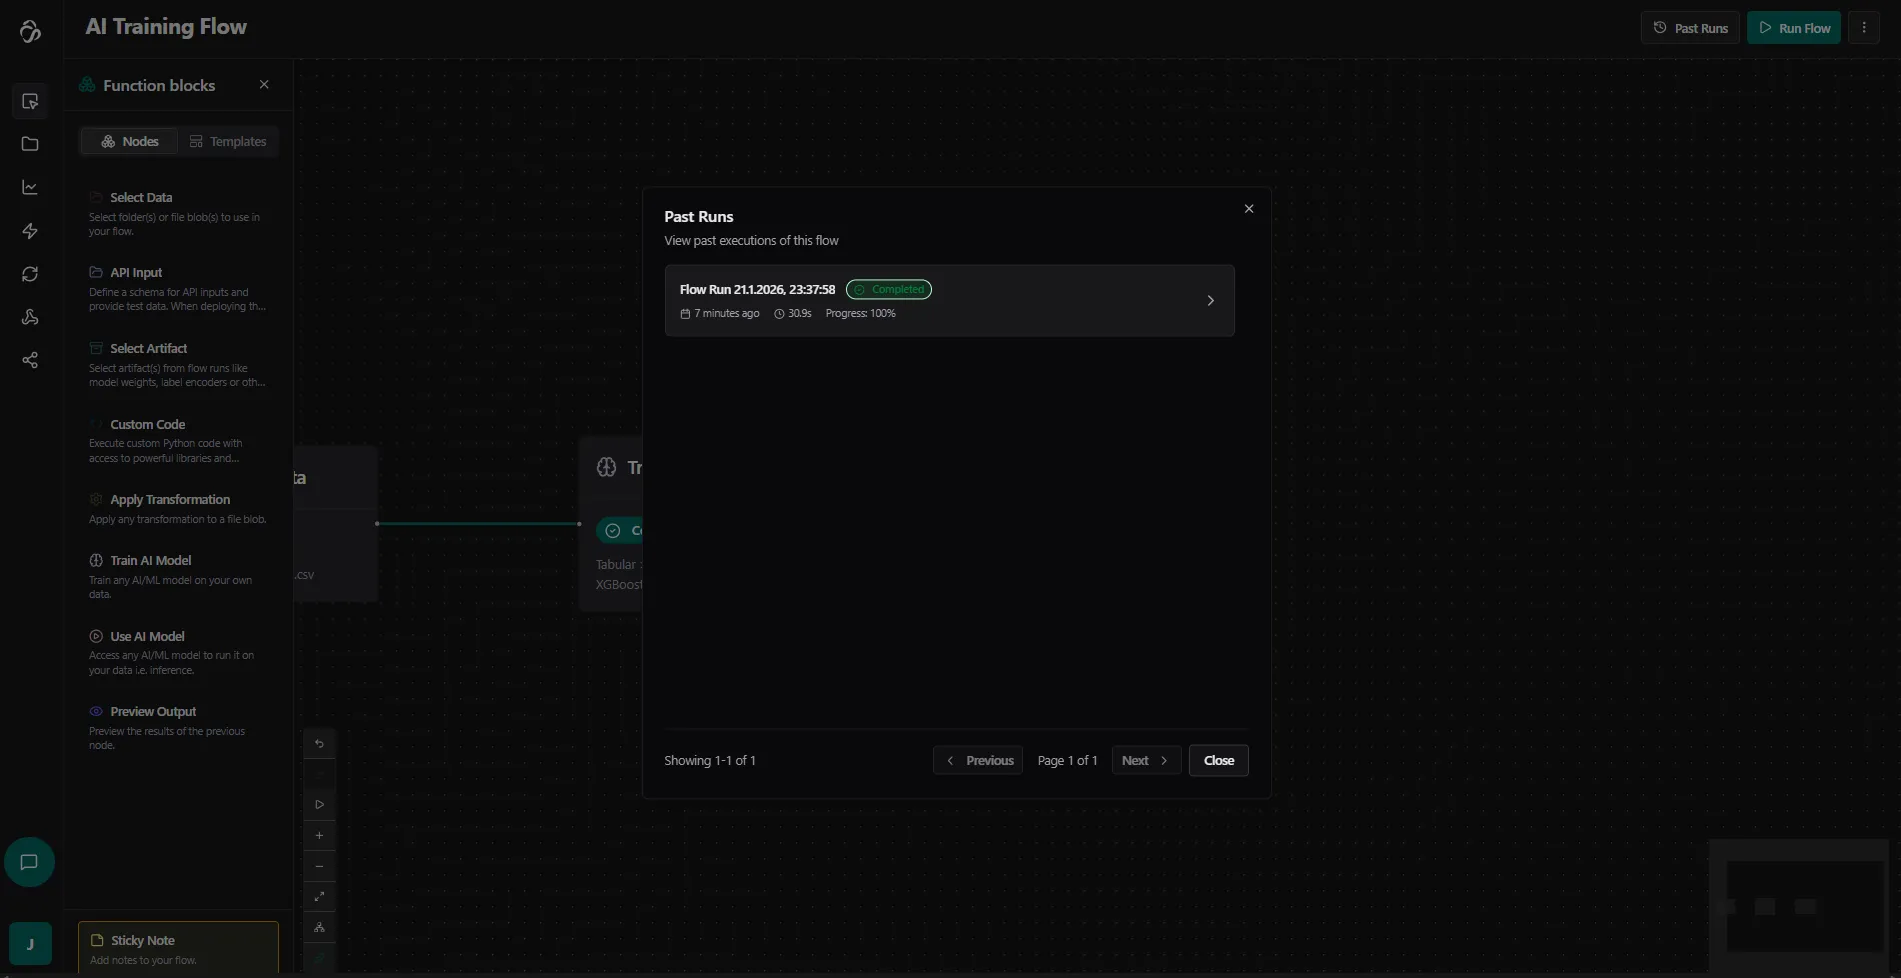
To view past flow runs or currently running flow runs that you clicked away you can click on past runs and select the one that you want to see.
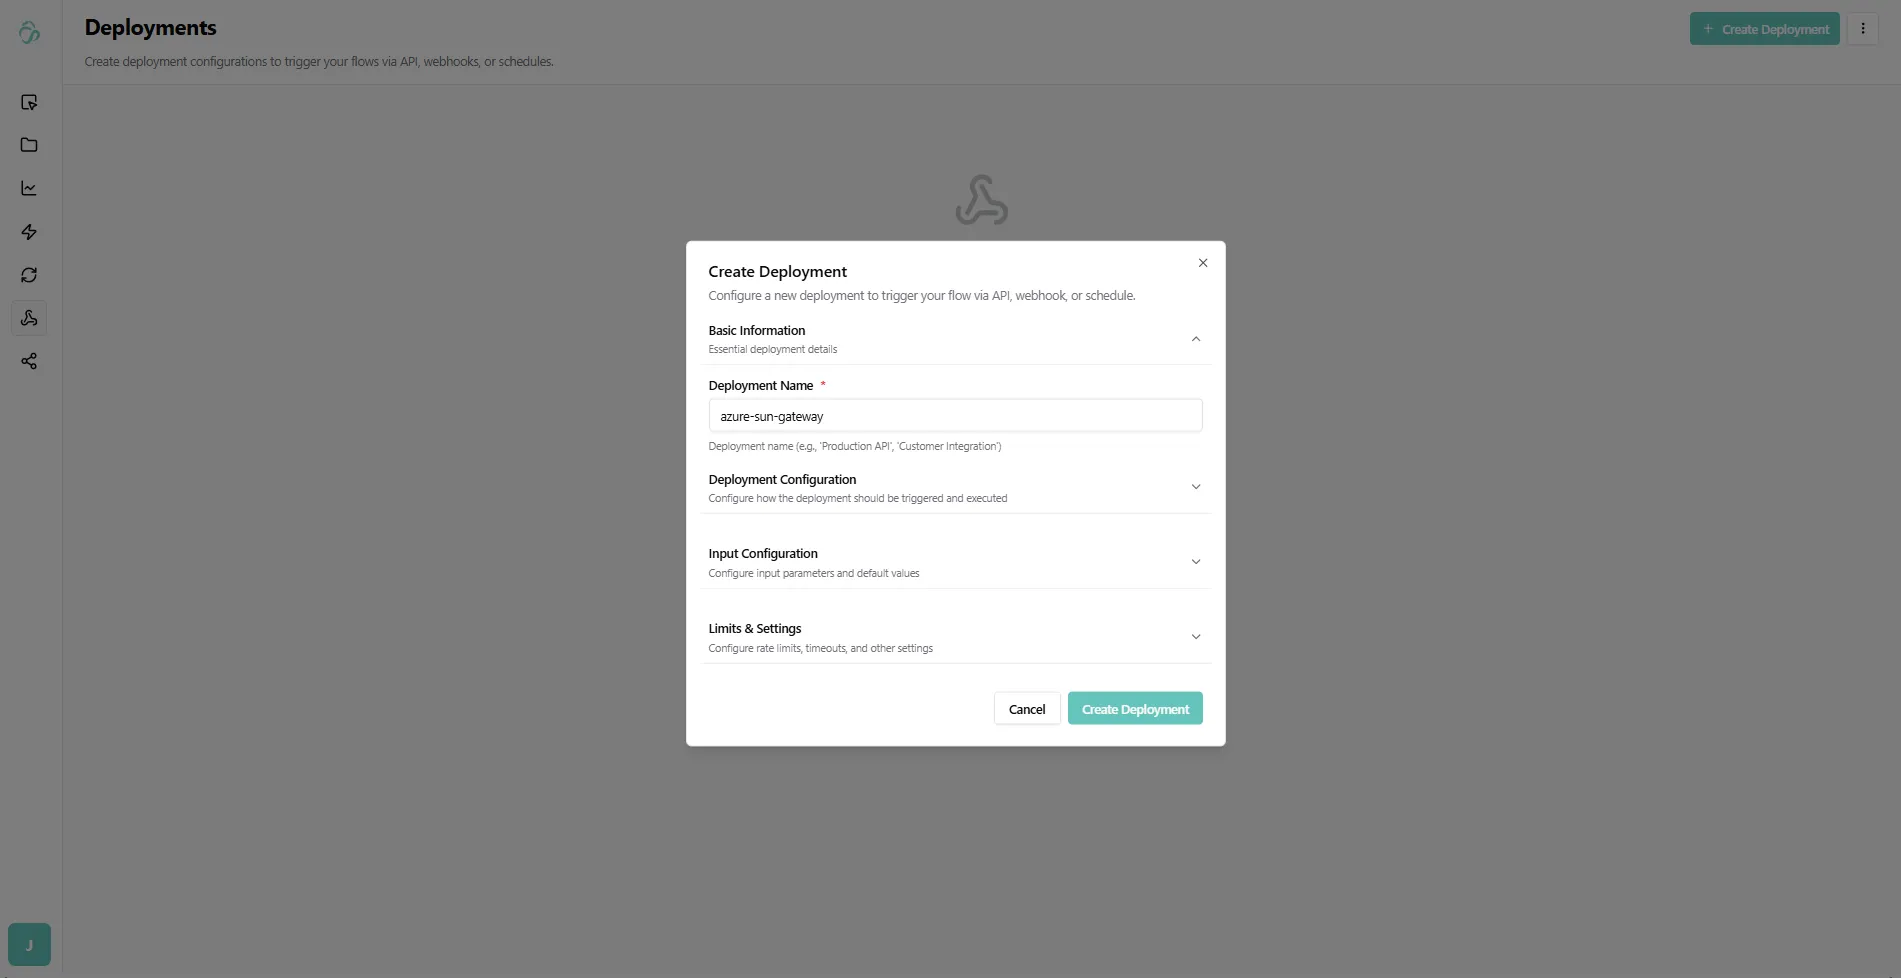
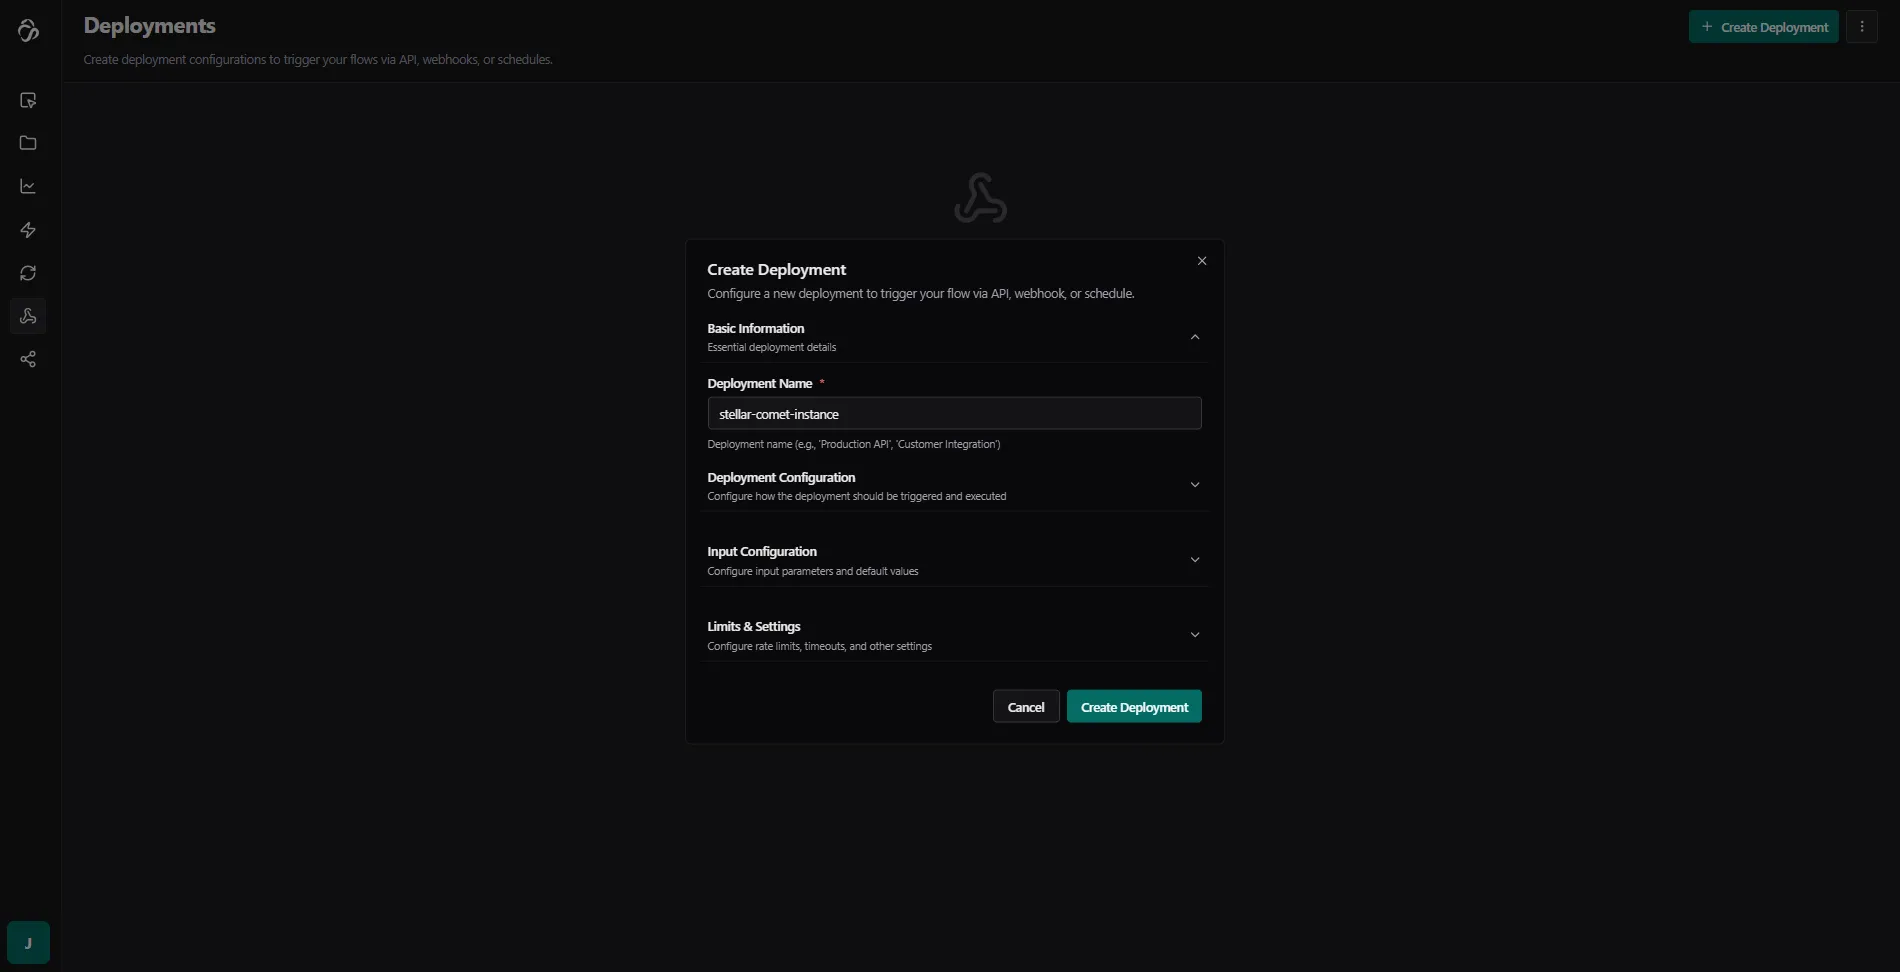
7. Deploy Your Flow
Deploy with one click to get your API endpoint. See the Deployment documentation for details.
Key Features
Pre-built Building Blocks
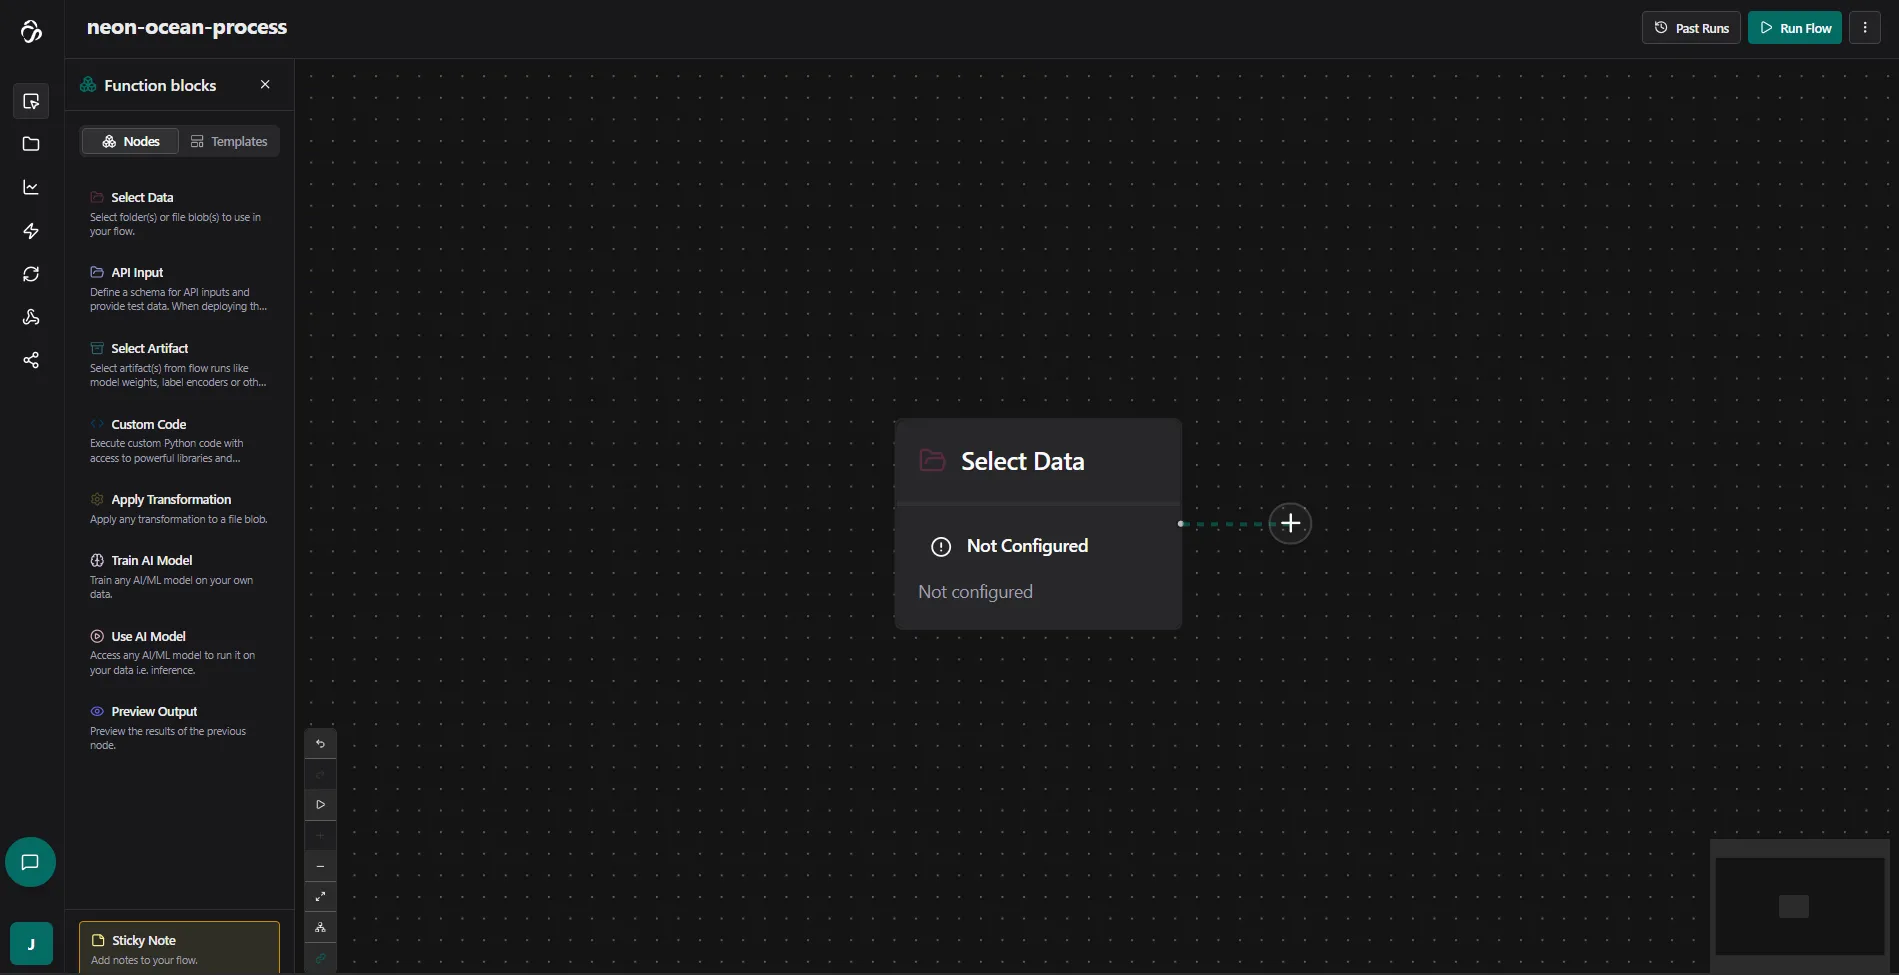
Access a comprehensive library of pre-defined building blocks that provide powerful algorithms. Navigate to the Node Library to see all available options.
Available Node Types
- Select Data: Choose files or folders from the Data Module
- Select Artifact: Load model weights, encoders, and other saved outputs from previous runs
- API Input: Define an input schema and test data for deployed flows
- Apply Transformation: Clean, reshape, and prepare your data
- Custom Code: Write your own Python logic inside the flow
- Train AI Model: Train custom machine learning models on your data
- Use AI Model: Run inference with any public or custom-trained model
- Preview Output: Visualize results at any step for debugging and inspection
See the Node Library for full documentation on each node.
One-Click Deployment
Deploy your flows with a single click by navigating to the deployment tab. Scaling is handled automatically for each deployed flow.
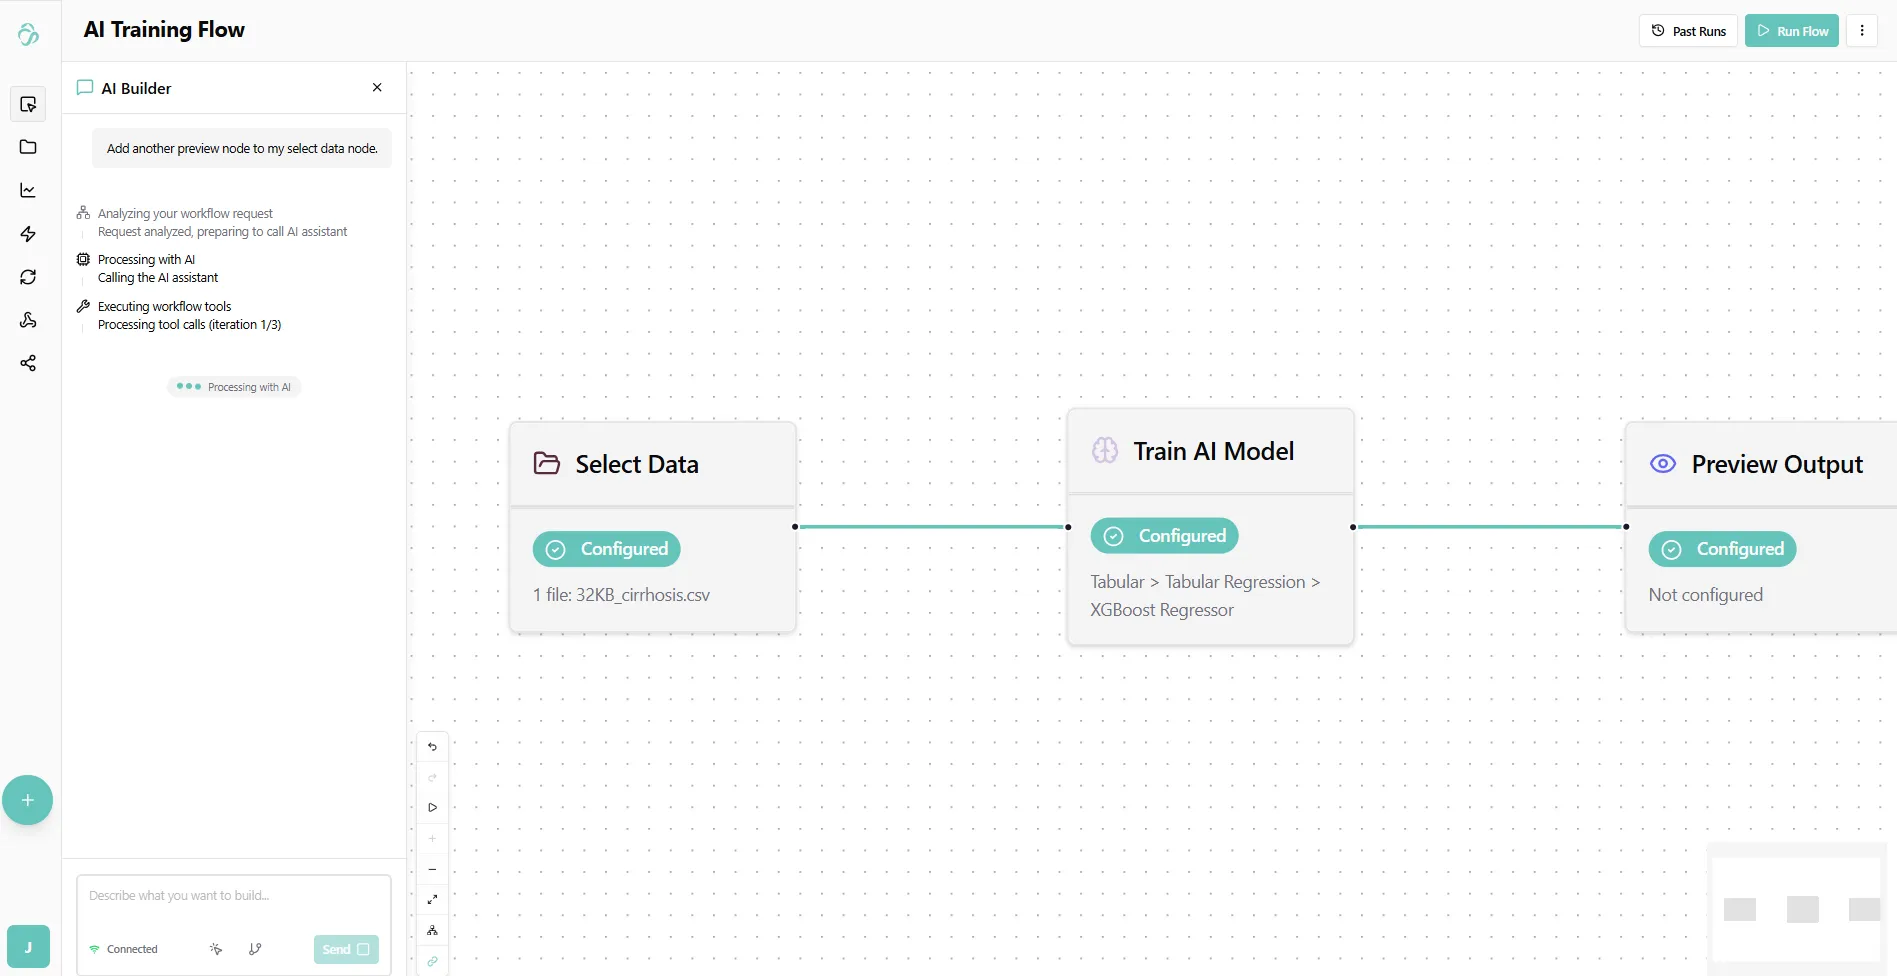
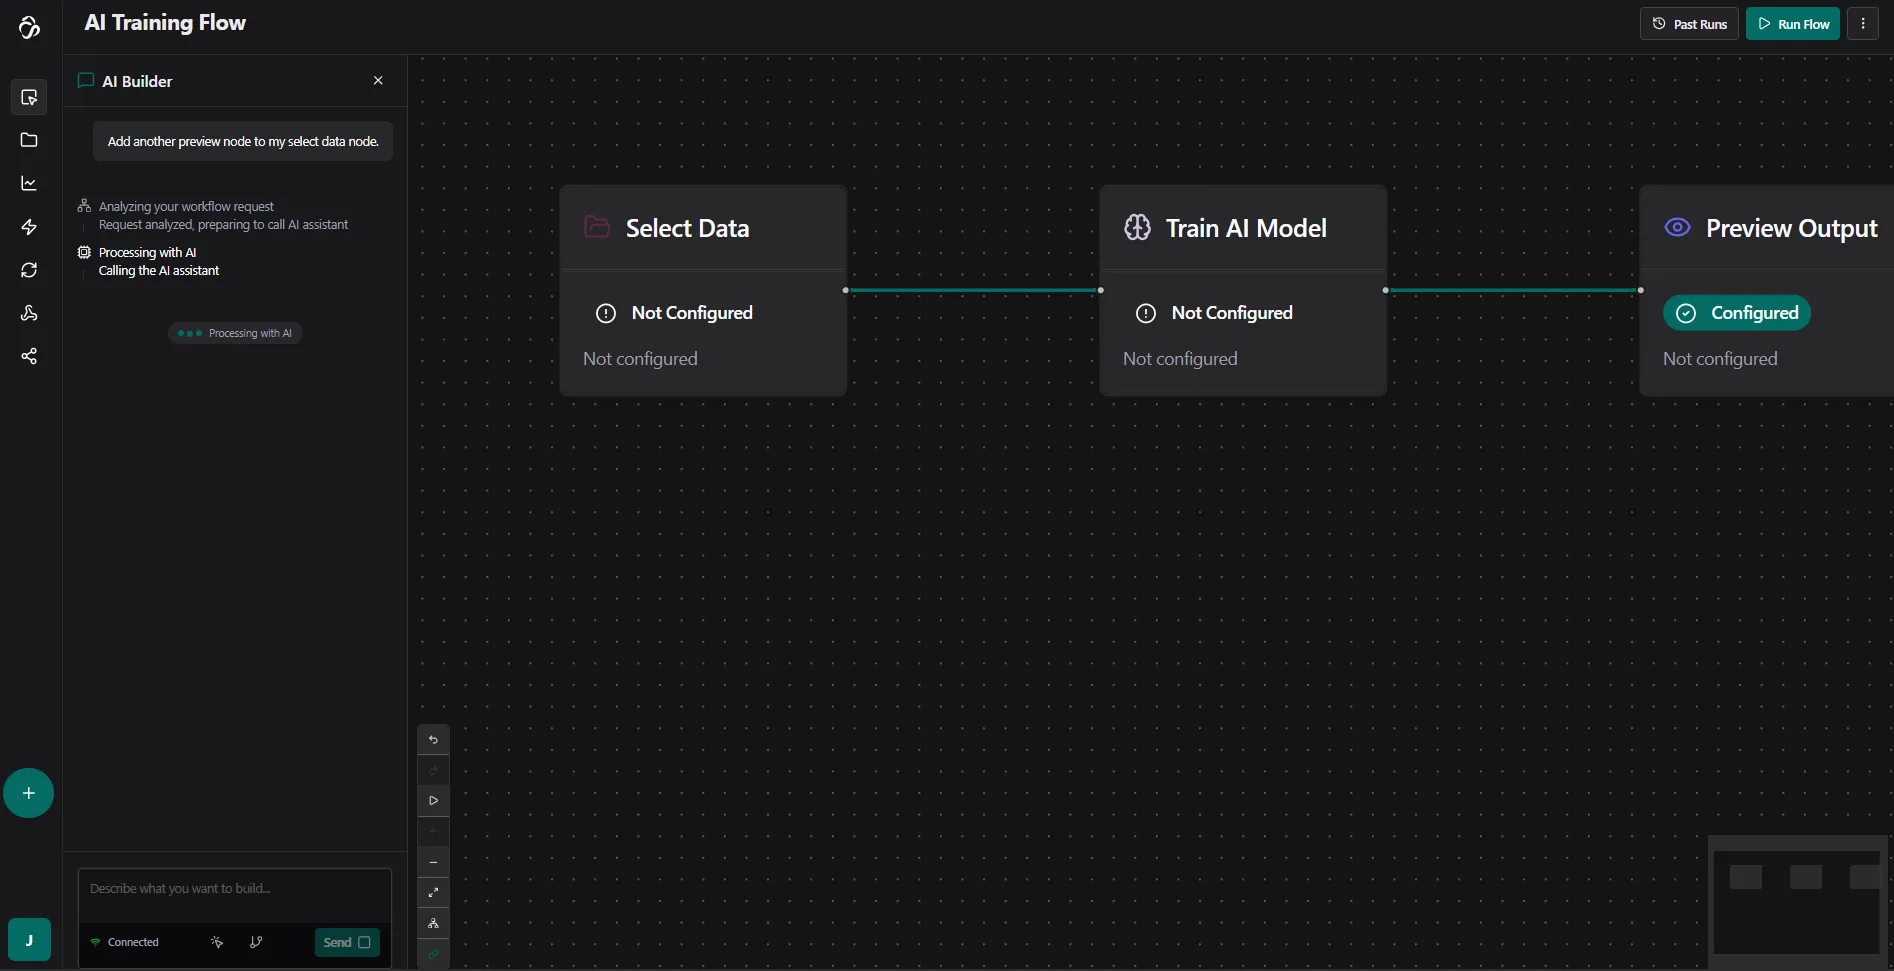
AI Assistance
Use the AI Builder to assist you in creating your data and automation flows.
Common Use Cases
- Data Pipelines: Automated ETL (Extract, Transform, Load) workflows
- AI Workflows: End-to-end machine learning pipelines from data prep to deployment
- API Services: Create custom APIs for data processing and AI inference
- Automation: Automate repetitive tasks and business processes
- Integration: Connect multiple systems and data sources
Tips for Building Flows
- Start Simple: Begin with a basic flow and add complexity gradually
- Use Preview Nodes: Add Preview Output nodes to debug your flow at each step
- Test Before Deploy: Always run your flow with test data before deploying
Responsible Developers: ui:Sona, api:Sneha, Julia, Max, Usama.